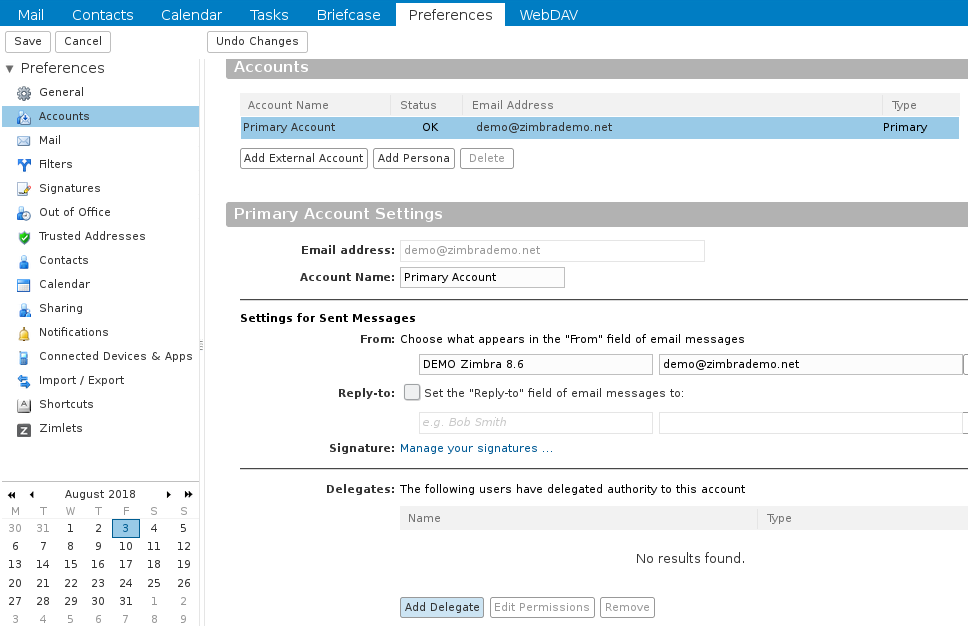
1. To delegate an account in Zimbra, after having logged in, we will go to Preferences in Accounts. Once there we will look for the button, Add delegate.
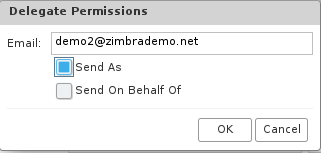
2. We will see a screen where we can enter the e-mail account (of our domain or another that is on the same Zimbra server, check with our provider).
Here we will define if we want the delegated account to send e-mails as if we were ourselves (Send As), or if we want our delegate to send e-mails from us, where the sender will see if a delegate sent the e-mail or e-mail has sent by the original (Send On Behalf Of):
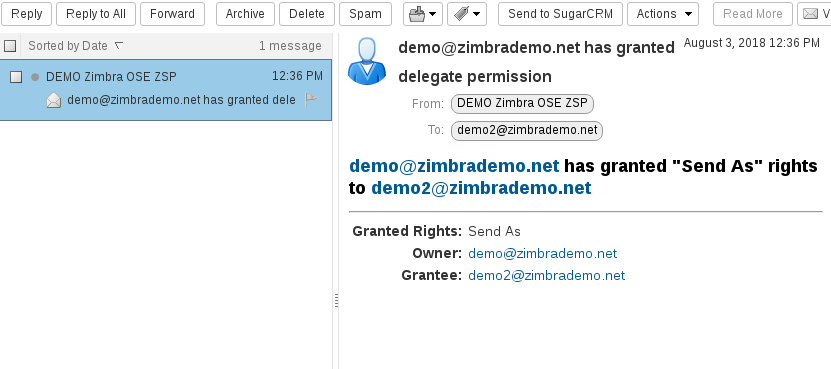
A notice will also appear on our Zimbra as the notice has been sent.
![]()
3. All this will send an e-mail to the delegated account where he will be informed that he have delegated shipping permissions on behalf of that account:
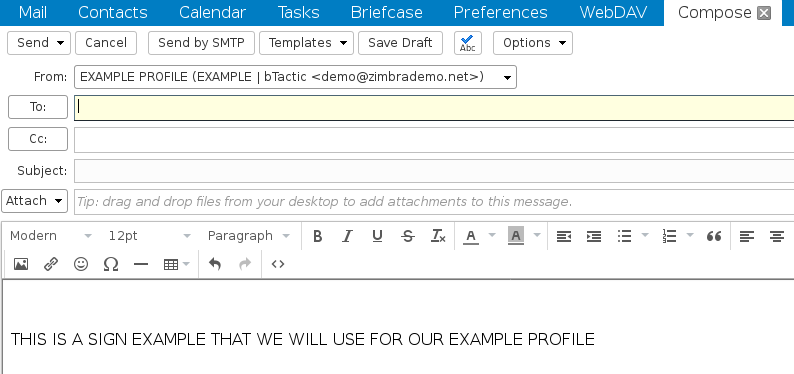
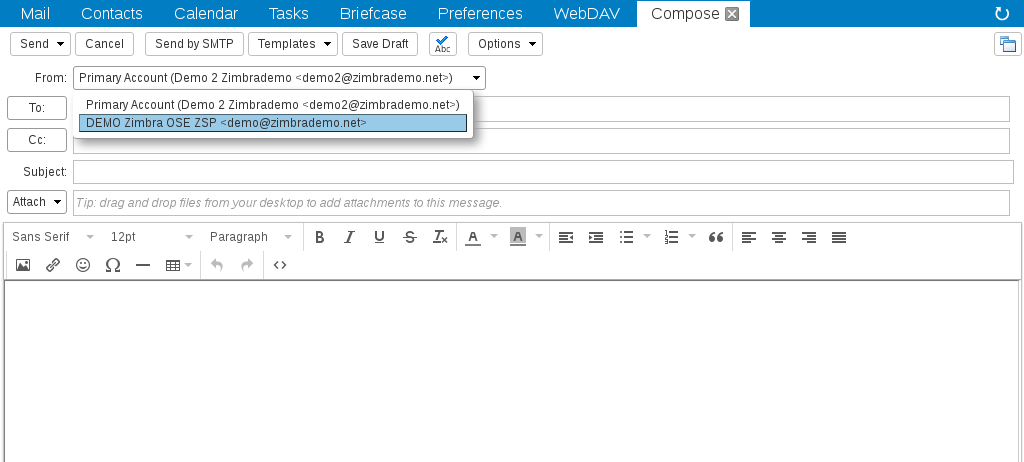
4. At this time we could send e-mails from our delegated account. Once we are ready to do it, we will see a drop-down next to From:, where we can choose if we want to send the e-mail as ourselves or using delegation permissions, the latter using even their signature.
5. If we want that, in addition to being able to use a delegated account, we automatically assign a signature associated with certain characteristics, we will go to our main account (NOT DELEGATED) in Preferences/Accounts and then in Add Persona. Once selected, we will find just below this your configuration.
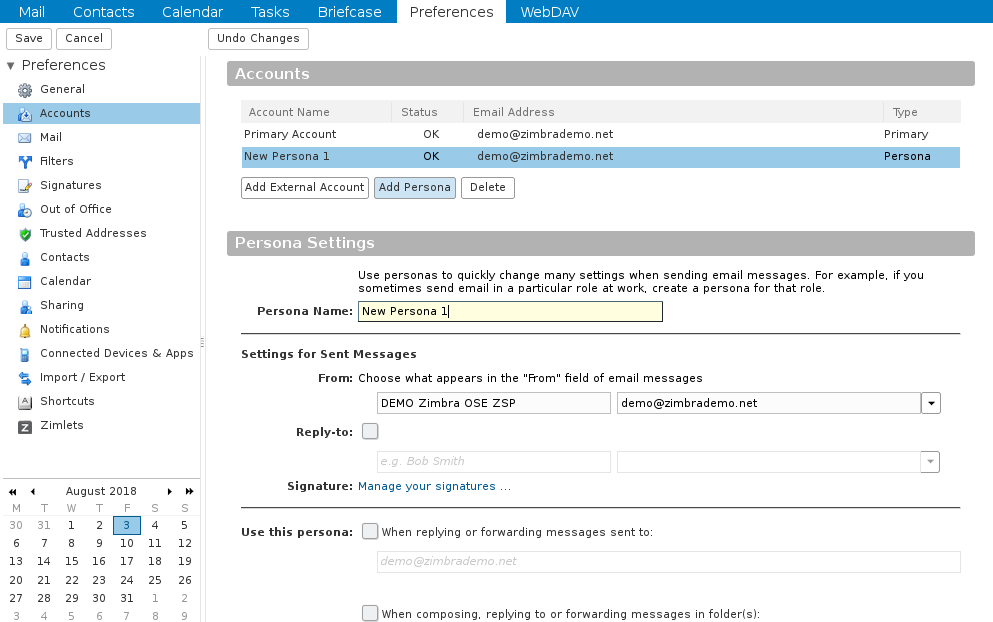
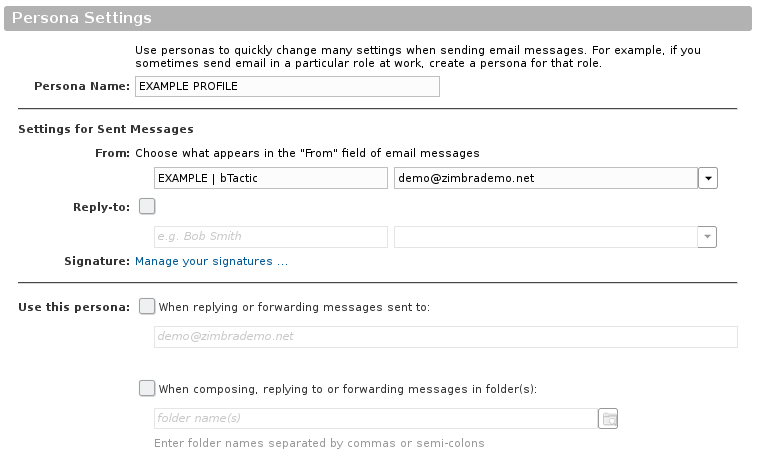
6. We will assign a name to the profile and we will fill in the From: field so when we send this profile, the recipient of the e-mail correctly identifies us (by default our main identity will appear) and we will configure the Reply-to: field if we want that, when we respond to the emails sent with this profile, do not respond to the sender of the email, if not to another that we can dial manually (for example a no-reply):
7. At this time, we can also define in the Use this persona parameter:
- When replying or forwarding messages sent to: It will serve, for example, to respond using this profile, therefore this DELEGATED account, every time we respond to the received emails from example@example.com
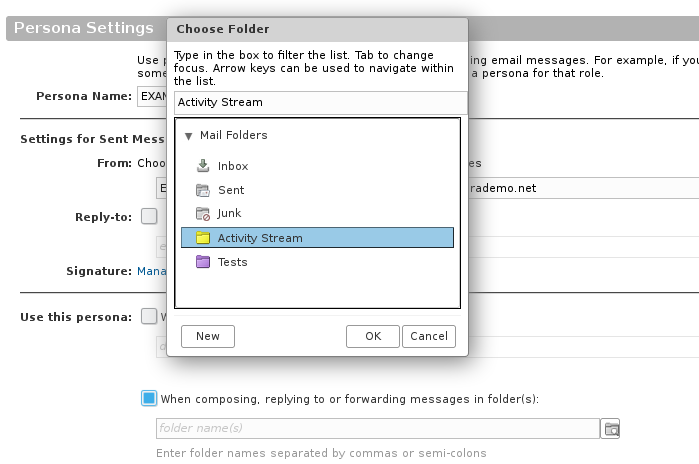
- When composing. replying to or forwarding messages in the folder(s): in this case, we can make that, when we answer the messages contained in a folder (usually the one we have previously shared), we will take this account profile DELEGATED automatically, without having to go to the Compose message drop-down.
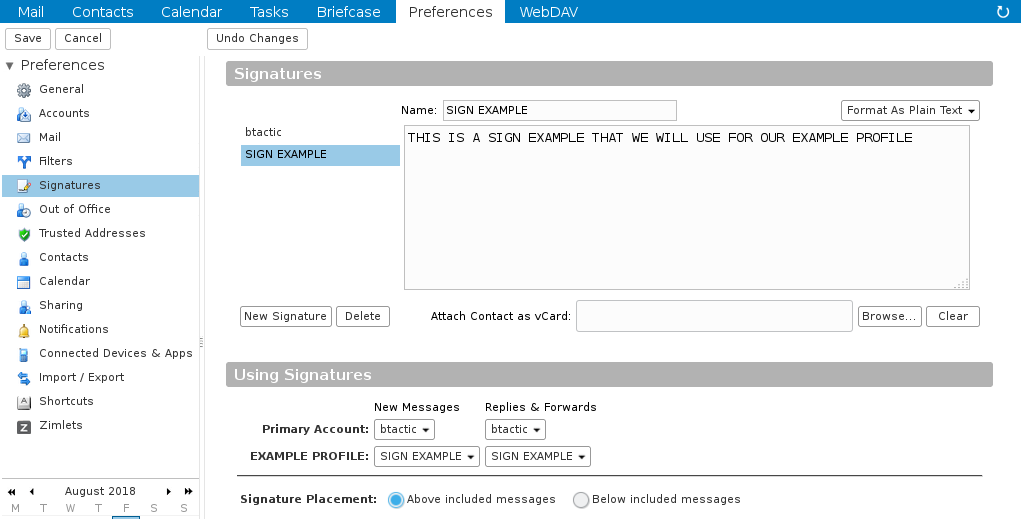
8. Once the profile is configured as we wish, we will establish a signature that will characterize this profile and differentiate it from the main one. We will go to Preferences in Signatures, where we will press New signature, introducing a name and a certain signature.
Later in the section Using signatures we will assign to our previously created profile this new signature for both new messages and for replies and forwards.
9. Finally we will save all the changes. Now we can send e-mails with this specific signature in addition to all those features that we have previously selected.