1. Before starting to configure Nextcloud, we will have to implement this Zimlet to our Zimbra. To do that, we will consult the manual How to implement Zimlets to our Zimbra?.
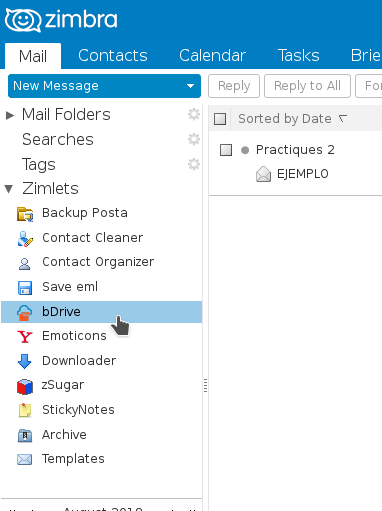
2. Once we have Nextcloud implemented in our Zimbra, to be able to configure it, we will go to the main screen of Mail, in the left side menu, in the Zimlets section, located at the bottom.
3. Here we will double click on Nextcloud and a new window will appear with fields to fill. We will fill them with the information of our Nextcloud (NOT WITH THAT OF ZIMBRA). We will introduce our Nextcloud username and password and choose if we want to Save or not the password. We will leave the default port of our server.
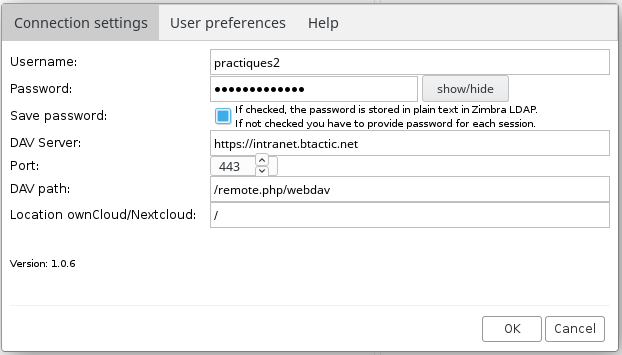
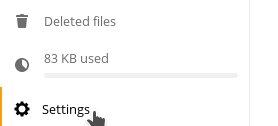
4. To know what to enter in DAV Server, in the path and in the location we will go to our Nextcloud and we will log-in. Once here, we will go to the bottom left and click on Settings. When you open it, the WebDAV information will appear. We will see a link like the following (it will be different depending on our server): https://intranet.btactic.net/remote.php/webdav/
 |
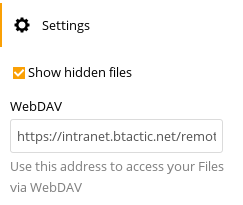 |
5. We will introduce the field DAV Server: the link of our WebDAV to the domain (.net, .com …), in my case: ”https://intranet.btactic.net”. In DAV path: the link part that follows, up to webdav, in my case: ”/remote.php/webdav’‘. Lastly in Location ownCloud/Nextcloud: the link part that follows, in my case: ”/”
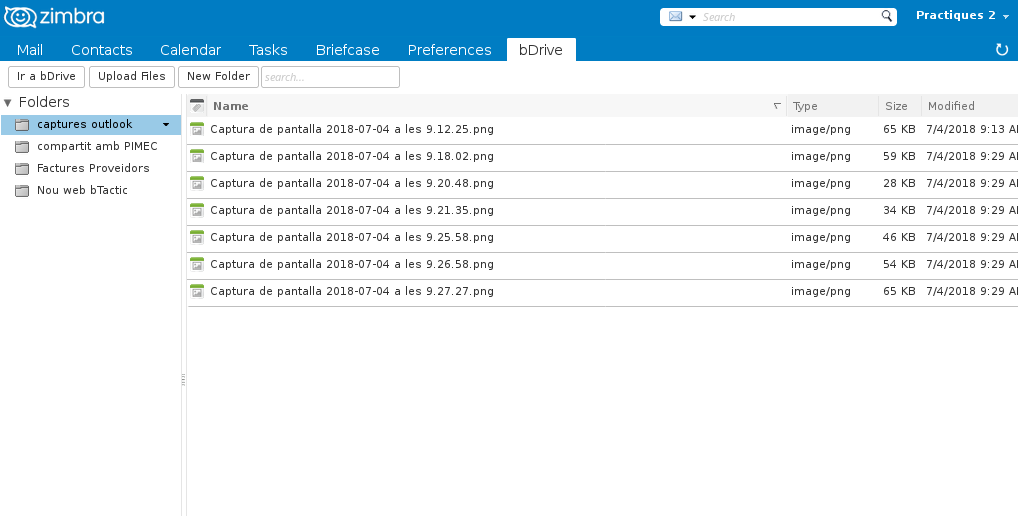
6. Finally we can go to the new tab located next to Preferences, to manage our Nextcloud from Zimbra: