GENERAL CONFIGURATION OF ZIMBRA ACCOUNTS
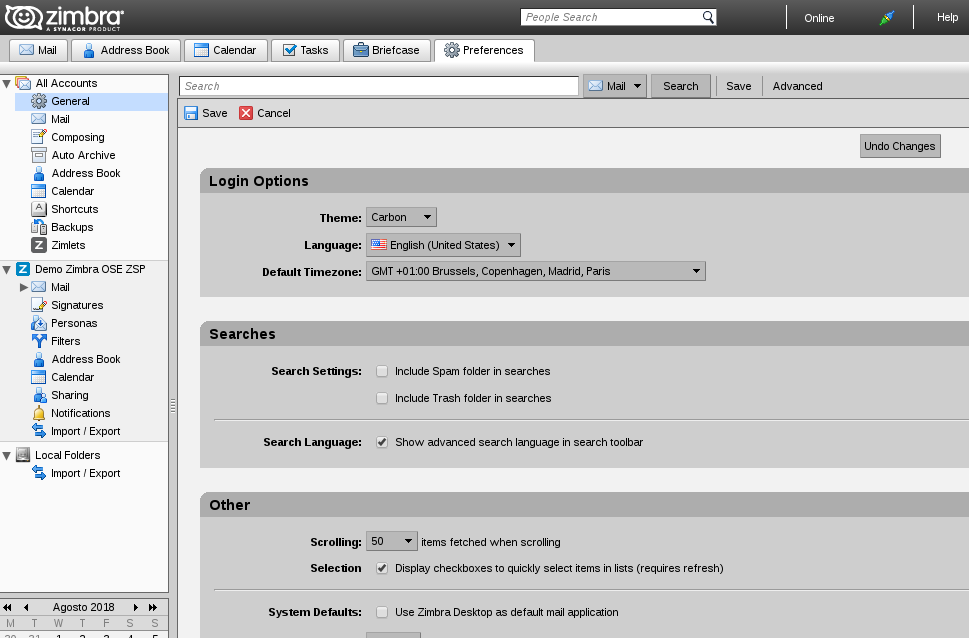
1. After installing Zimbra Desktop we will perform a series of steps to perform a basic configuration. First, we will go to the Preferences tab, where we will change the language, if it is not already in English. If we want to introduce a language that is not predefined, we must install it separately.
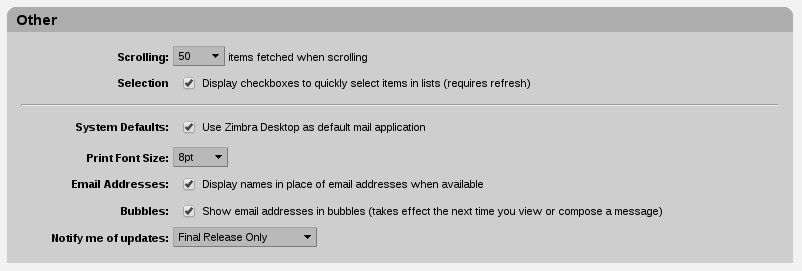
2. After changing the language, in the same tab, located in the Other section, we will mark the option Use Zimbra Desktop as default mail application. This will help our operating system recognize Zimbra Desktop as the main mail manager.
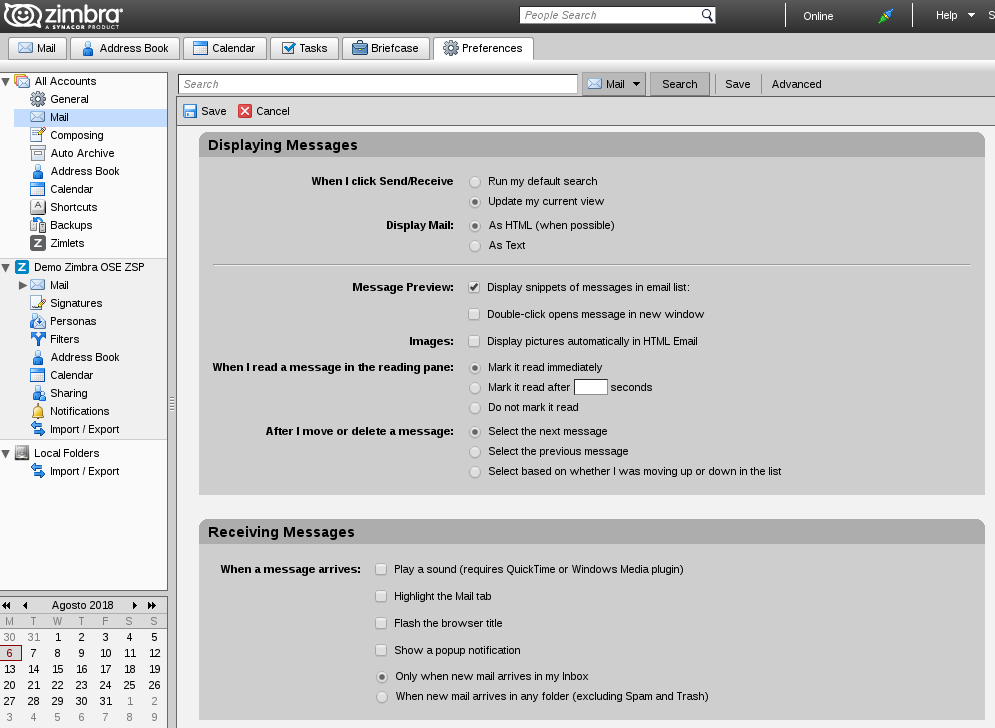
3. We will continue advancing through the Preferences in Mail menu. Here we will activate Display mail: As HTML (when possible). Also at the bottom in Receiving messages, we can configure to our liking notices for new mail.
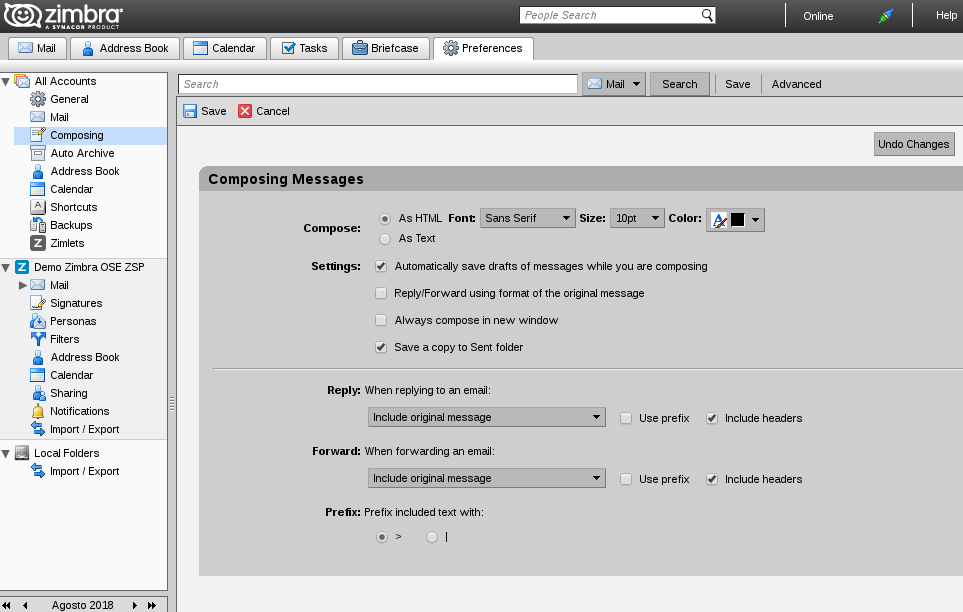
4. In the Preferences in Composing menu we will mark the option Compose: As HTML, choosing the Font, the Size and the Color that we like the most.
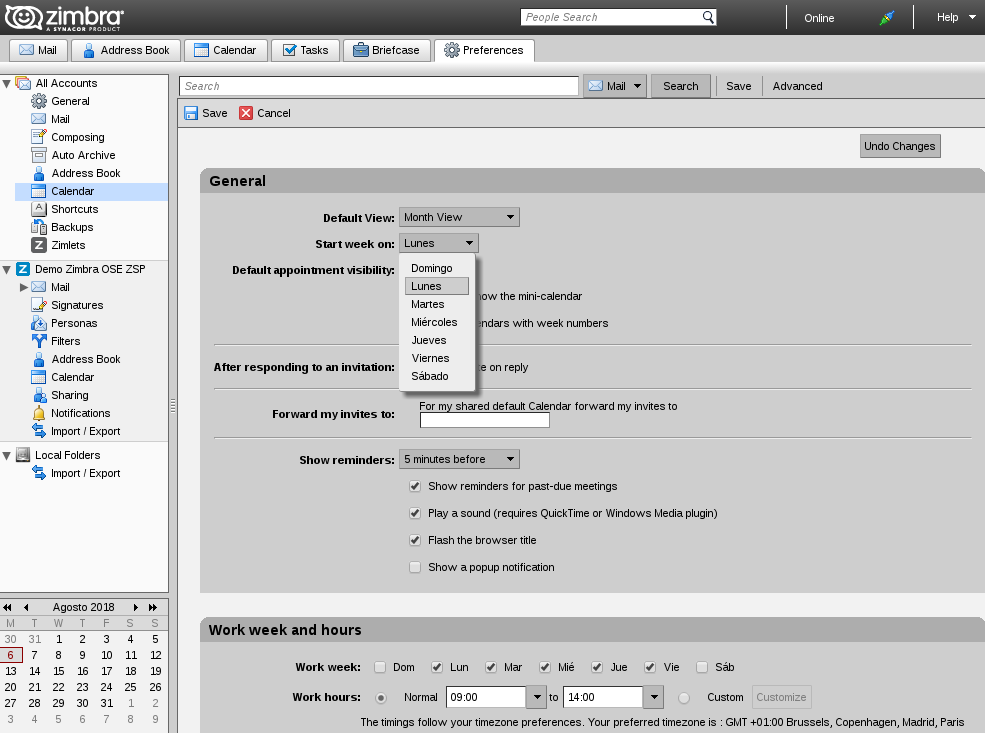
5. We will continue to the Calendar section. Here we can change the Default view according to our preferences and then we will change in Start the week on: (the day we want). In Show reminders we can set up the Zimbra notice form when we have an appointment. Finally, in Work week and hours, we can enter our working day so that it appears marked on the agenda.
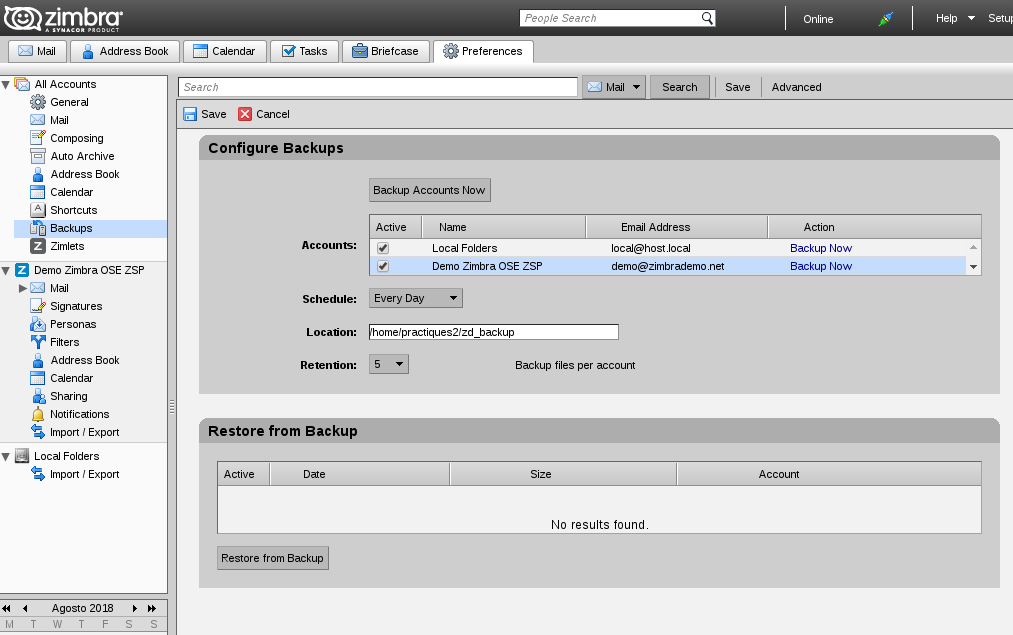
6. To finish, we will proceed to configure the Backups of our mail. In Accounts: we will see all those accounts that we have entered in our Zimbra Desktop; let’s point them all out. In Schedule: we recommend putting Every day, so that the program makes a backup during that period. In the case of the Location: we will configure it to our liking, depending on where we want to save the copy. Finally in Retention: we recommend entering 5.
SPECIFIC CONFIGURATION FOR THE DIFFERENT ZIMBRA ACCOUNTS
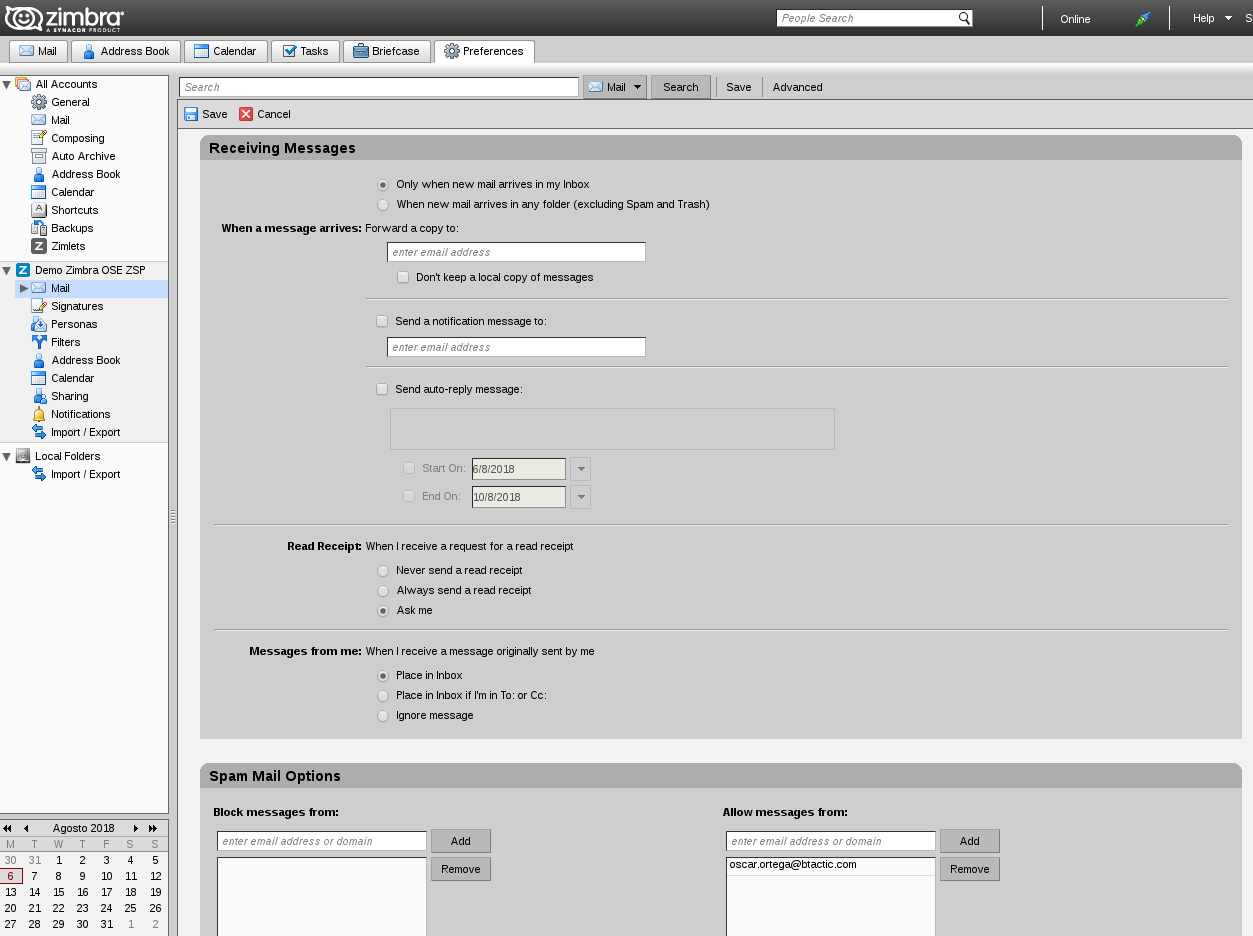
1. The previous configuration, will be useful for all the accounts that we have introduced in Zimbra Desktop. Now we will proceed to configure the accounts individually. We will go to the section of Mail, within the account that we are interested in managing. Here we can configure to our liking different options in Receiving Messages, and classify accounts in Spam Mail Options.
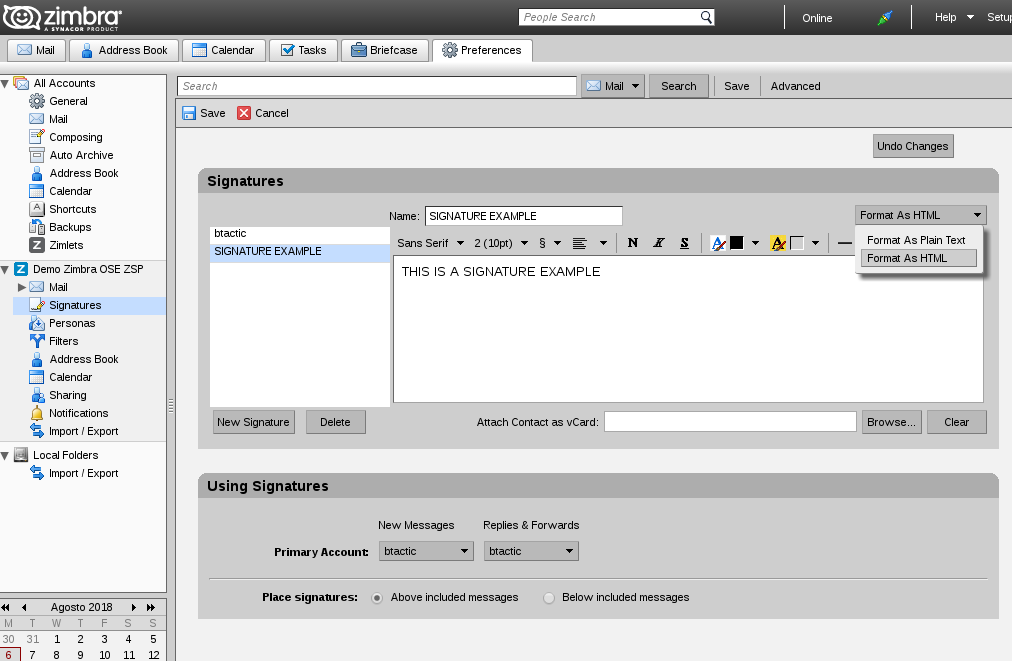
2. We will continue advancing through the menu to Signatures. Here we will create the signature that we want in New Signature, attributing a name and the content of it. NOTE: We will change the format of the signature to Format As HTML. Next in Using Signatures we will configure the signatures of New Messages and of Replies & Forwards according to our preferences.
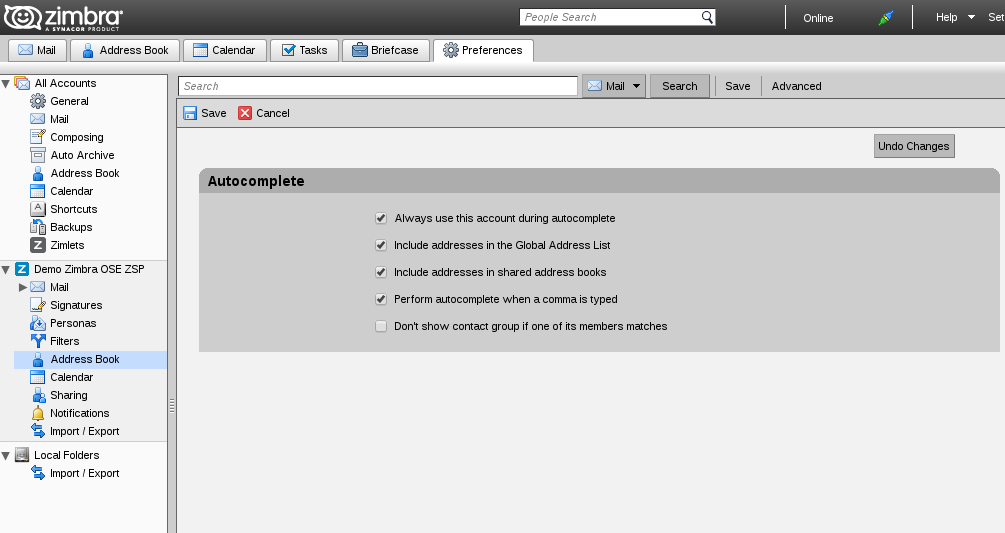
3. Once the signatures are configured, we will go to the Address Book. In it we recommend marking the first four options as in the image. Even so, we can configure it according to our needs.
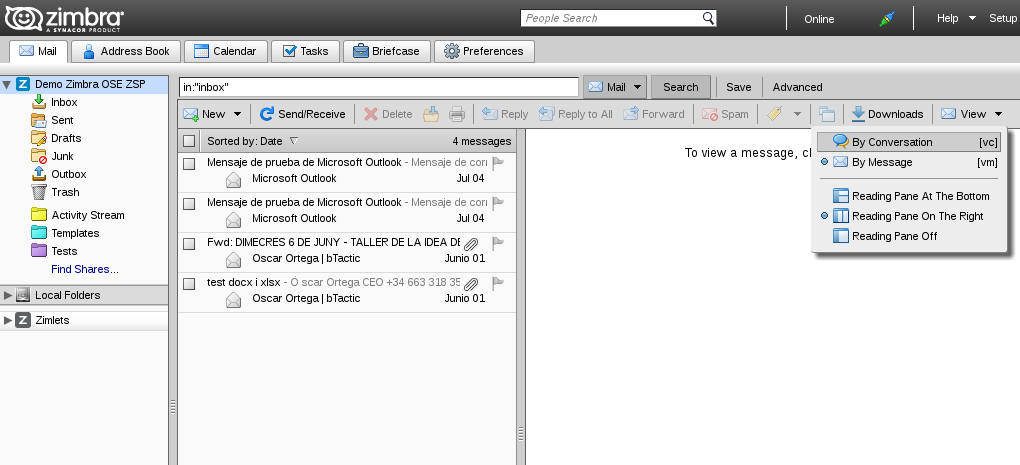
4. Finally we will leave the Preferences tab, saving the new changes, going to the Mail tab. In it we will look in the upper right part for a View drop-down. We will mark the option to display messages that we like the most.