1. To download and install Zimbra Desktop on our PC we will go first to the following link: http://www.zimbra.com/downloads/zimbra-desktop. Once the link is opened, a page like the following will appear, where we will select the Download according to the operating system that we have.

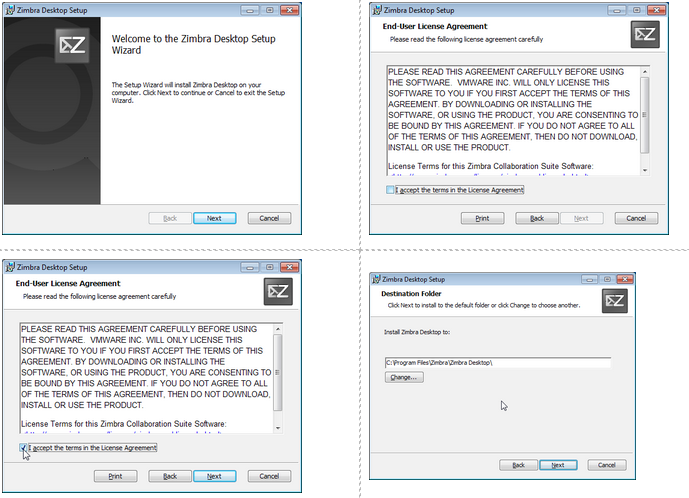
2. Once downloaded, we execute the installer and the following window will appear. We will follow the incoming steps:
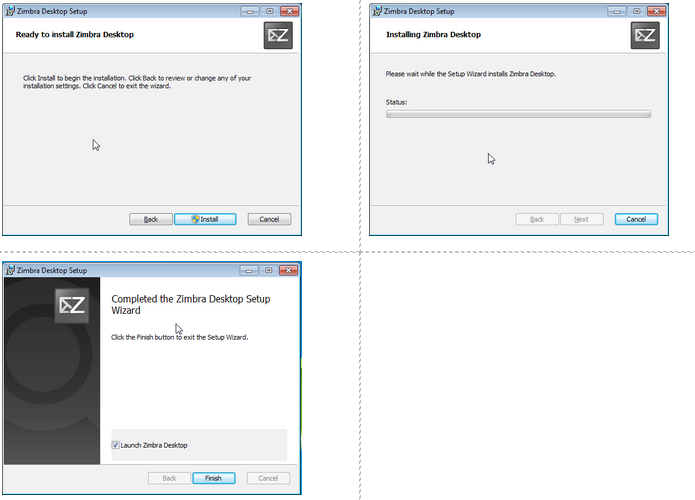
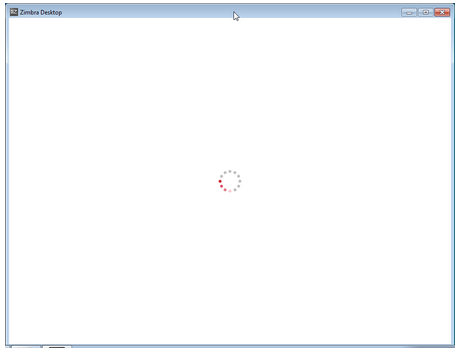
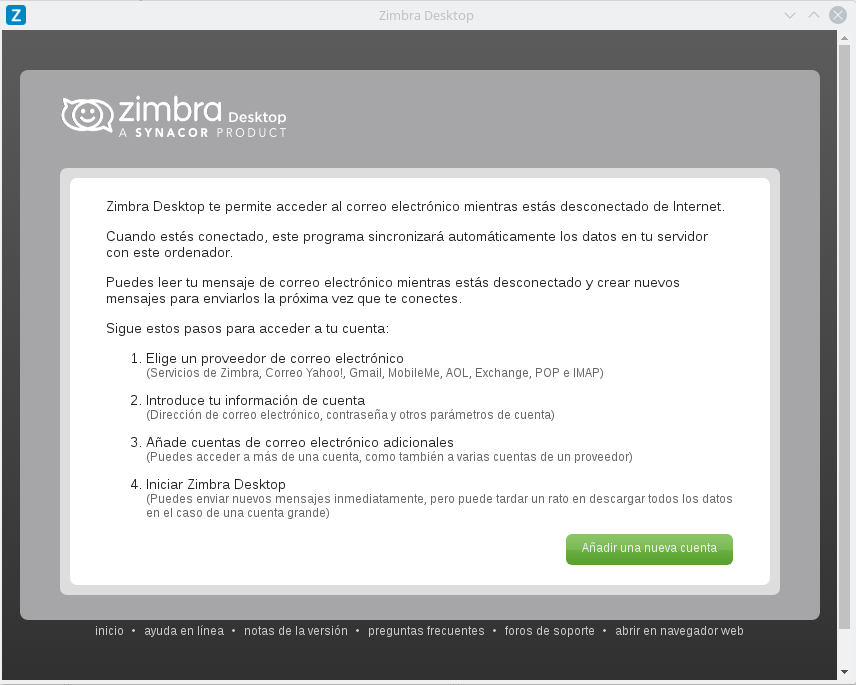
3. Once the installation has been completed, pressing Finish it will complete the installation and Zimbra Desktop will open, with the following screen appearing. Being the first time we open the program, it may be that this take a little longer than usual (This will be solved once we open the program for the second time).
4. When the program were opened, we will find the following screen. Click on Add a new account.
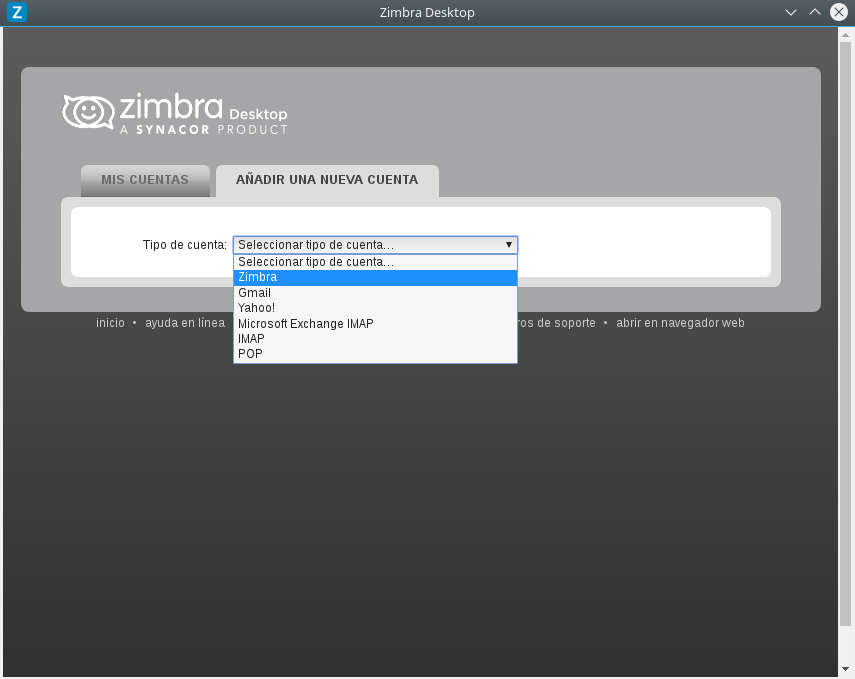
5. We will open the drop-down by selecting the Zimbra account type. Later we will be able to also add another type of accounts with different systems (Google, Yahoo, POP3 and IMAP accounts)
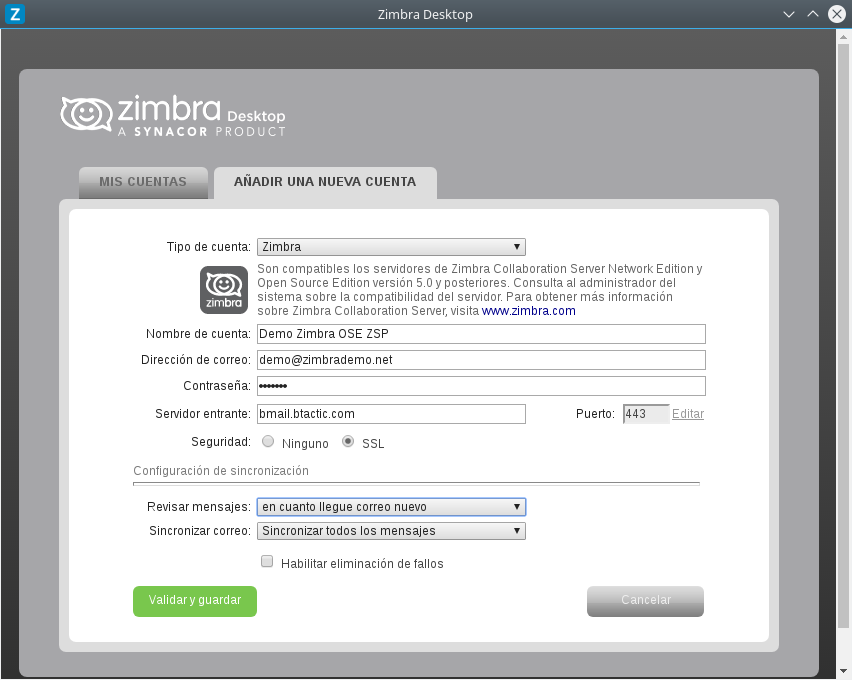
6. At this time we will add the data of our account in the form that will appear:
- Account name: we will introduce our name or that of our delegation:
- Email address: we will introduce our e-mail
- Password: we will introduce the same as in the web-mail. IMPORTANT: if we modify the original password in the web-mail, we must also do so in Zimbra Desktop, otherwise the account will be blocked.
- Incoming server: bmail.btactic.com
- Security: SSL: marked.
- Review Messages: as soon as new mail arrives.
- Synchronize mail: Synchronize all messages
7. Then press Validate and save.
8. Finally press Start Desktop.
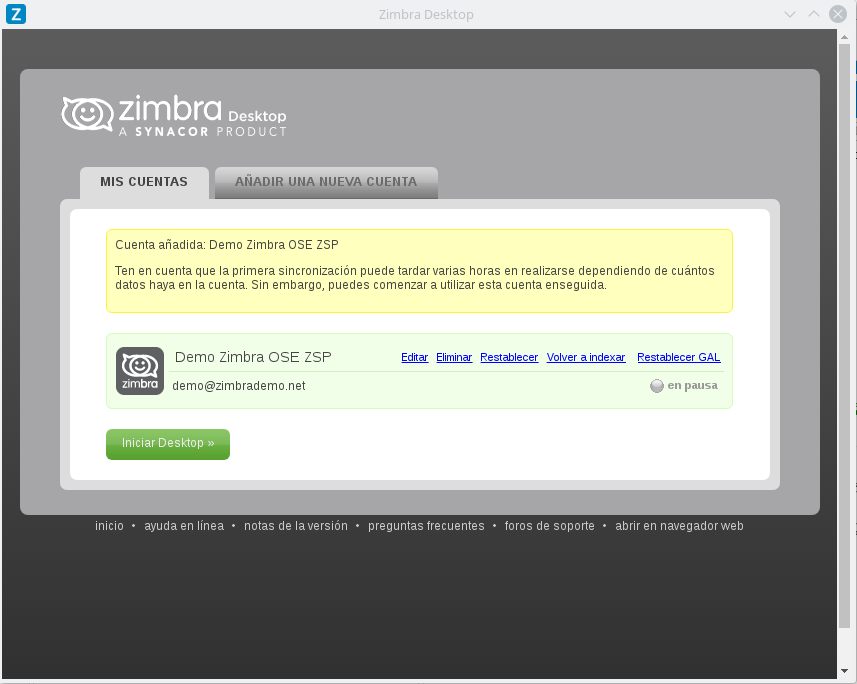
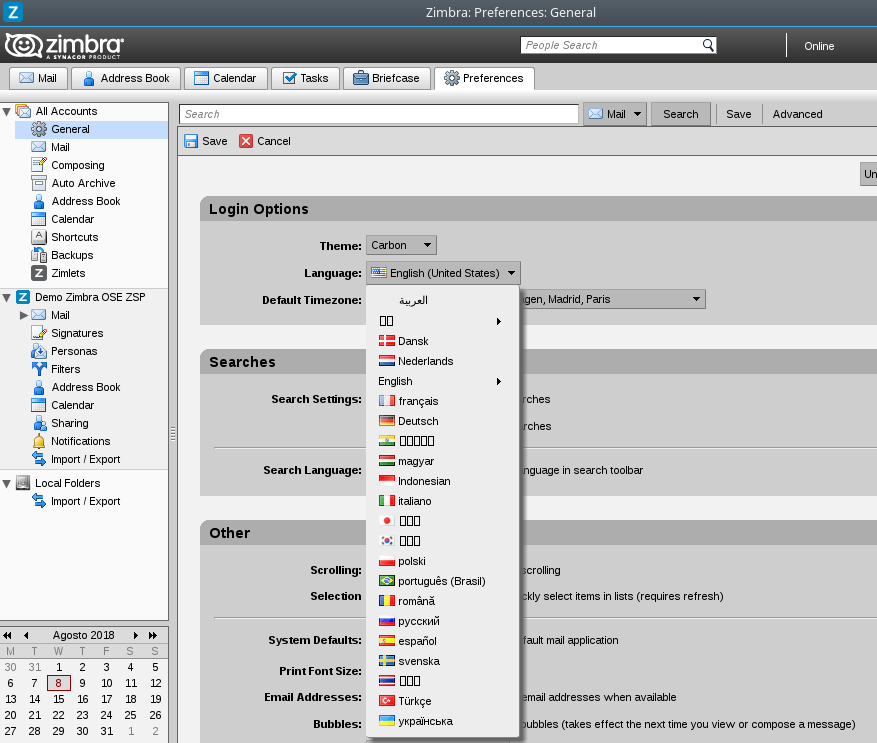
NOTE: Once the above steps are done we will have our Zimbra account in Zimbra Desktop. It should be noted that the first time we synchronize may take a while since you have to synchronize all mail, contacts, calendar and old briefcases. Also, if the program opens in another language, we can change it in preferences.