Advanced open events
Event locations
The Locations module is used to capture the information of the place / site where the events take place.
Creating Locations
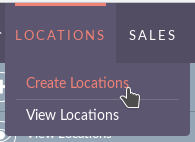
1. Scroll on the Locations module in the navigation bar and select Create Locations.
2. This will take you to the edit view. Enter the information in the appropriate fields, all required fields are marked with a red asterisk and must be completed before saving.
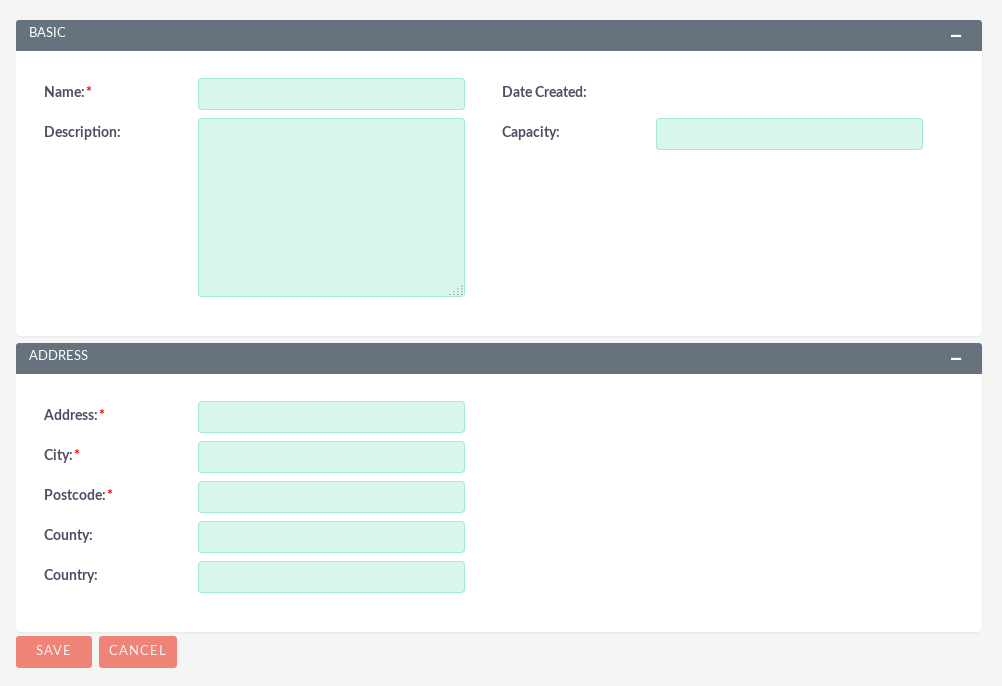
3. Once the necessary information is entered, click Save.
Events
The event module is used to capture information about a particular event and send invitations to delegates. To see the events that are held within the system, click on the Events tab in the navigation bar. This will take you to the Event List View.
Creating events
1. Scroll on the Events module in the navigation bar and select Create event.

2. This will take you to the edit view. Enter the information in the appropriate fields, all required fields are marked with a red asterisk and must be completed before saving.
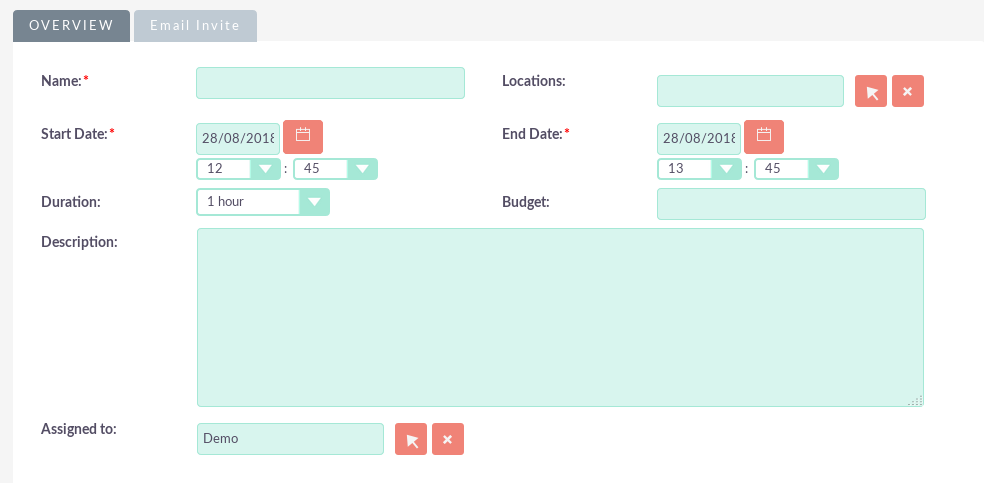
The following fields are found in the Events module:
– Name: – the name of the event.
– Start date: – date and time of start of the event.
– End date: – date and time of end of the event.
– Duration: – The duration of the event. This will automatically change the end date or be modified automatically if the end date is changed.
– Locations: – this is a relationship with the Event Location module.
– Budget: – the budget for the event.
– Email invite template: – the email template that will be sent to the associated delegates.
– Accept Redirect URL: – Guests of the website should be redirected after accepting an invitation using the link provided in the email template.
– Decline Redirect URL: – Guests of the website should be redirected after rejecting an invitation using the link provided in the Email Template.
– Description: – More information about the event.
– Assigned to: – Who is the user assigned to this event. This is predetermined for you who creates the event.
– Created by: – User who created the event.
3. Once the necessary information is entered, click Save.
Add delegates
1. Navigate to the Event Details View.
2. Navigate to the Delegates subpanel under the Event Details panel.
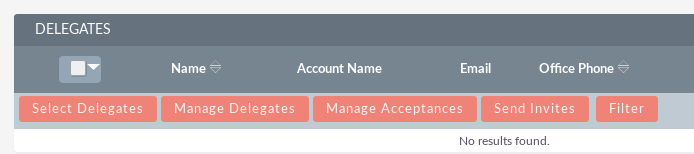
3. Click Select delegates. A list of options will appear.
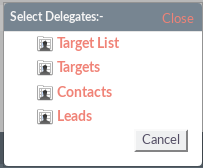
4. Select the appropriate option according to who should be added to the event.
– Target List: select a people’s target list to associate with the event. All prospects, leads and contacts in this target list will be added to the event.
– Targets: select the targets that will be associated with this Event.
– Contacts: select contacts to associate with this Event.
– Leads: select the Leads that will be associated with this Event.
5. Once an option has been chosen, a new pop-up box will appear to search and select records of the type of module that was chosen.
6. The Delegates subpanel will be completed with the selected records.

Send Invites to delegates
1. Navigate to the Delegates subpanel.
2. Choose the Send Invites action.

3. This will send the email template selected in the Invitation Template by email to all delegates who have the status Not invited.
4. Once selected, the Delegate status will be automatically updated to Invited.
5. Choosing To Forward Invitations will send invitations to all Delegates associated with the Event who have not yet responded.
Manage delegate acceptance manually
1. Navigate to the Delegates subpanel.
2. Select the Delegates that require your Status to be updated.
3. Choose the Manage Acceptances action.

4. A list of options will appear. Select the appropriate states:
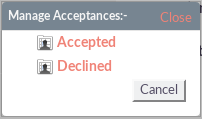
5. This will update the acceptance status of the delegates accordingly.
NOTE: The acceptance will be updated automatically if the Delegate decides to accept the use of the link provided in the email template.
Updating the status of delegates manually
1. Navigate to the Delegates subpanel.
2. Select the Delegates that require your assistance to be updated.
3. Choose the action Manage Delegates.

4. A list of options will appear. Select the appropriate state: Invited, Not Invited, Attended or Not Attended.
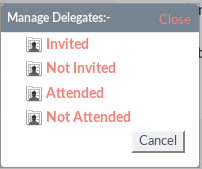
5. This will update the status of the delegates accordingly.
NOTE: The acceptance will be updated automatically if the Delegate decides to accept the use of the link provided in the email template.