Campaigns
The Campaign module in SuiteCRM can be a very powerful marketing and advertising tool for your organization that allows you to create and track Bulletins, email campaigns and non-email campaigns for potential or existing customers. With the tracking tools built into the Campaign module, you can monitor the response you receive from your campaign in real time, allowing you to see the return on investment (ROI) and many other useful metrics. This, in turn, helps you plan your strategic marketing and advertising activities by visualizing which Campaigns work and which do not.
Campaign actions
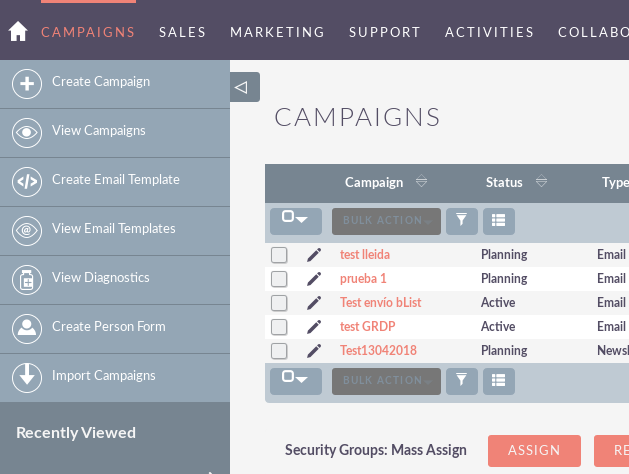
You can access the actions of the Campaign from the drop-down menu of the Campaign module menu or from the sidebar. The actions of the Campaign are the following:
– Create campaign: this takes you to the Campaign Assistant page.
– View campaigns: will direct you to the List view for the Campaign module. This allows you to search and list Campaign records.
– Create email template: a WYSIWYG editor where you can create emails by dragging and dropping components, inserting variables and modifying the text without formatting.
– View email templates: takes you to the List view page of your existing email templates. This allows you to search and list the records of the email template.
– View diagnostics: allows you to verify that campaign emails and campaign schedulers are configured correctly. If this is the case, a green icon will appear, if there is a problem with the configuration, a red cross icon will appear and you should contact your administrator for help.
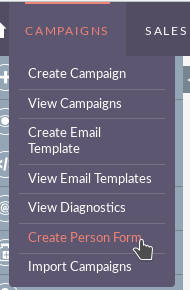
– Create person form: a web form template assistant that allows you to create candidates, contacts and goals.
To see the complete list of available fields when creating a Campaign, see List of campaign fields.
Creating a Campaign through the Campaign Assistant
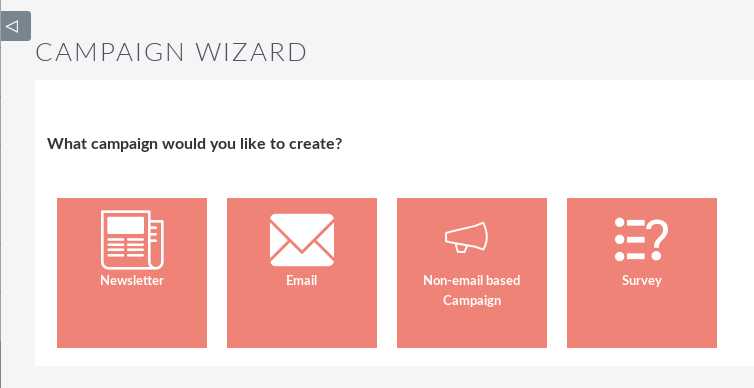
To create a Campaign and start the Campaign Assistant, click the Create Campaign button located in the List View or in the pop-up menu of the module while in the Campaign module.
Once you click Create campaign, you will be presented with four options, Newsletter, Email, Non-email based Campaign and Survey.
Presentation of the different configuration screens you will find:
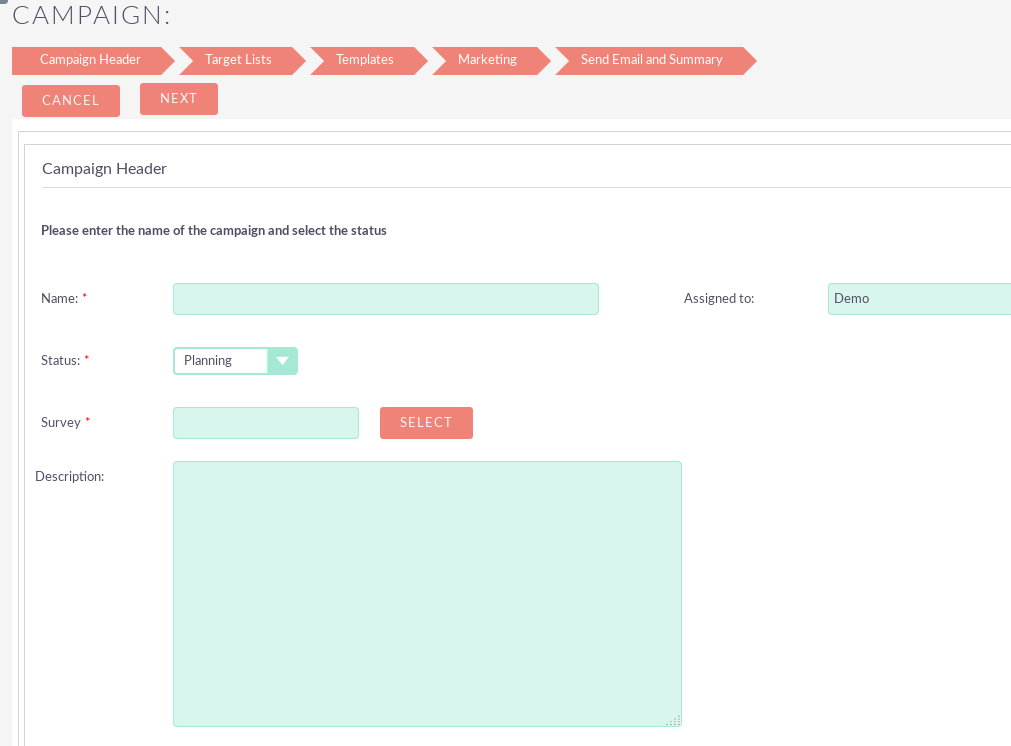
Campaign Header: Newsletter, email and non-email based campaign:
When you click on the Newsletter icon, you will access the first page of the Campaign Wizard, the Campaign Header page. On this page you will be asked to complete the required Name and Status fields.
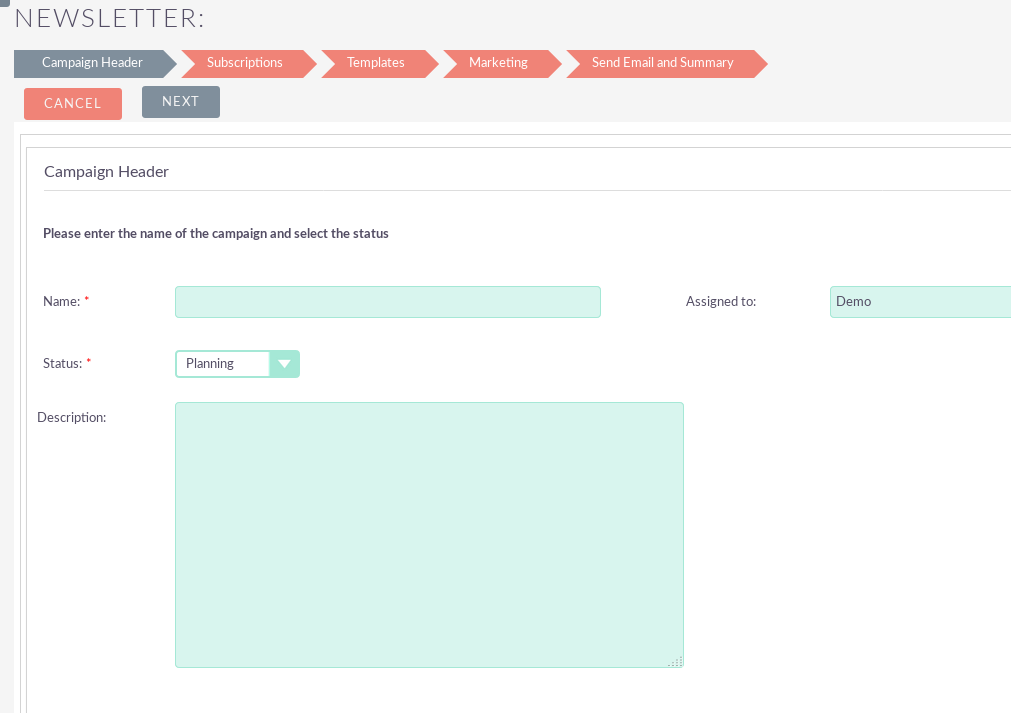
Once you have completed the necessary fields and are ready to move on to the next stage, click Next.

Campaign Header: Surveys:
When you click on the Surveys icon, you will access the first page of the Campaign Wizard, the Campaign Header page. On this page you will be asked to complete the required Name and Status fields. In addition you will have to select a survey previously done (To know how to make one, consult Manual SuiteCRM – Central modules – Surveys)
Subscriptions: Newsletter:
For a newsletter campaign, the next step of the campaign wizard allows you to specify your subscription information.
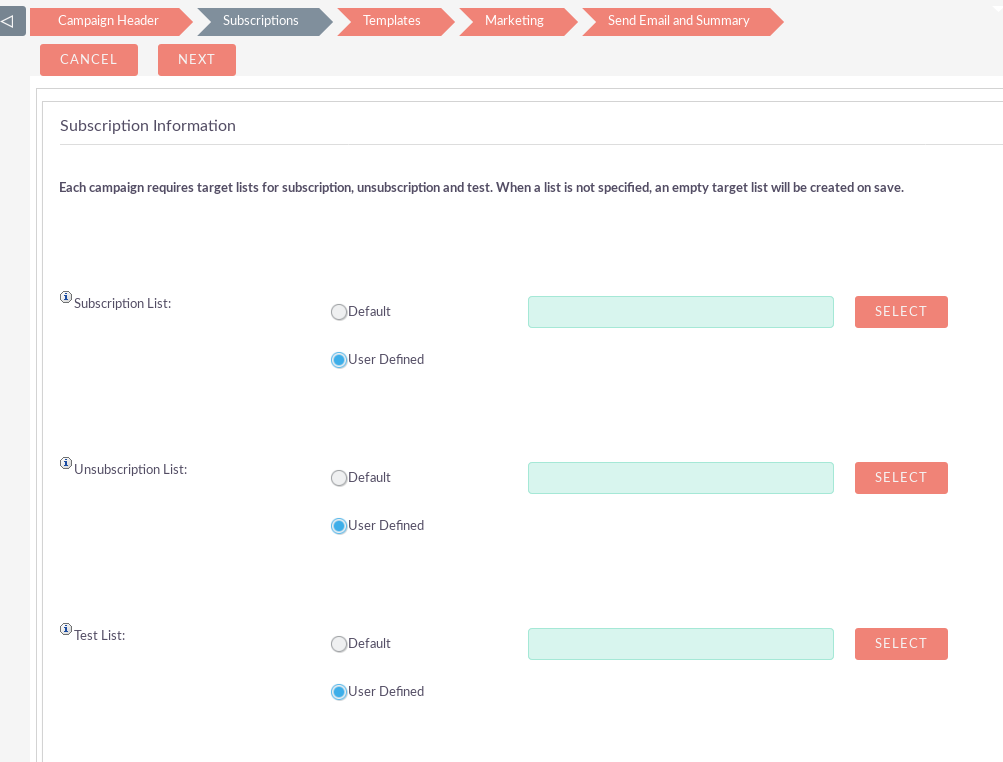
This stage is composed of three components; the list of subscriptions, the list of casualties and the list of tests.
– Subscription list: allows you to establish a list of objectives for your campaign. This list of objectives will be used to send emails for this Campaign. If you have not yet created a list of objectives, an empty list will be created for you and you can configure it at another time.
– Unsubscription list: allows you to establish a list of objectives of people who have chosen not to participate in its commercialization and should not be contacted via email. If you have not yet created a list of objectives, an empty list will be created for you and you can configure it at another time.
– Test list: allows you to establish a list of objectives to send test emails for this campaign. If you have not yet created a list of objectives, an empty list will be created for you and you can configure it at another time.
Once you have completed the necessary fields, click Next and you will access the Templates page, which is the next stage of the Campaign Assistant.
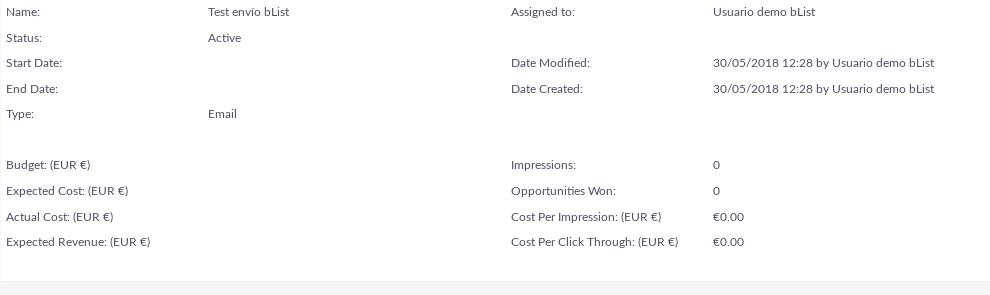
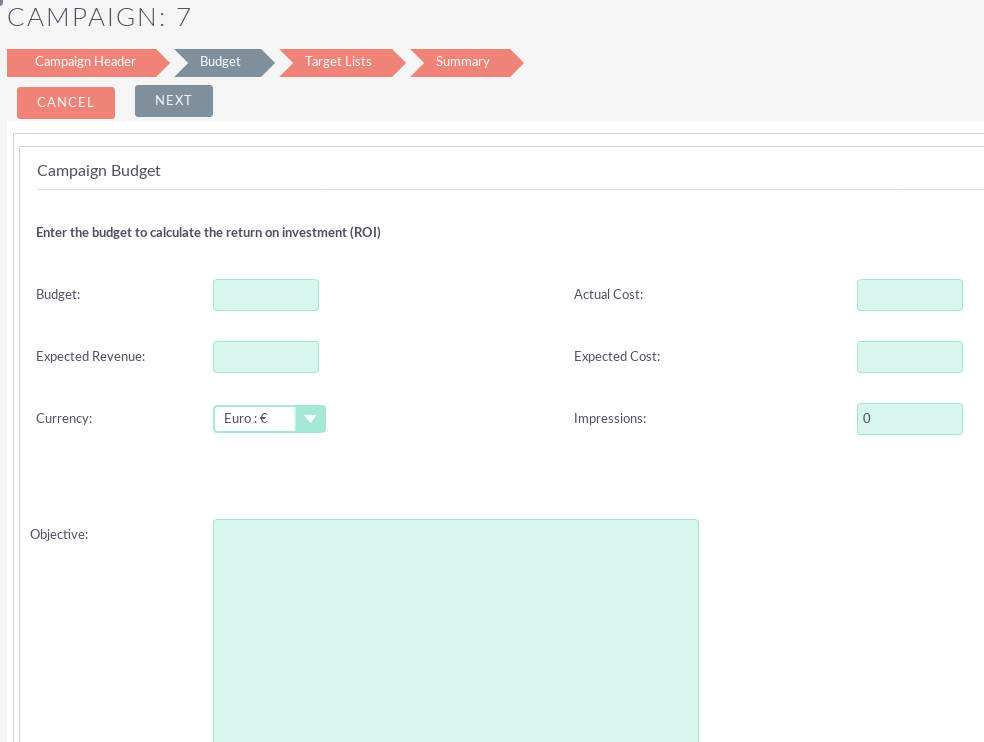
Budget: Non-email based campaign:
On the budget tab within non-email based campaigns, you can set a campaign budget, as well as expected revenue, expected cost, and actual cost. You can also add objective and impressions.
Target Lists: Email, non-email based campaign and surveys:
For all non-email based campaign, the next step of the Campaign Wizard allows you to specify your Objective Lists. For email based campaigns, this is where you would choose a list of people to send via email based on existing goals already created in the CRM. Or for Telemarketing campaigns (without email), for example, this could be a list of the people you would call.
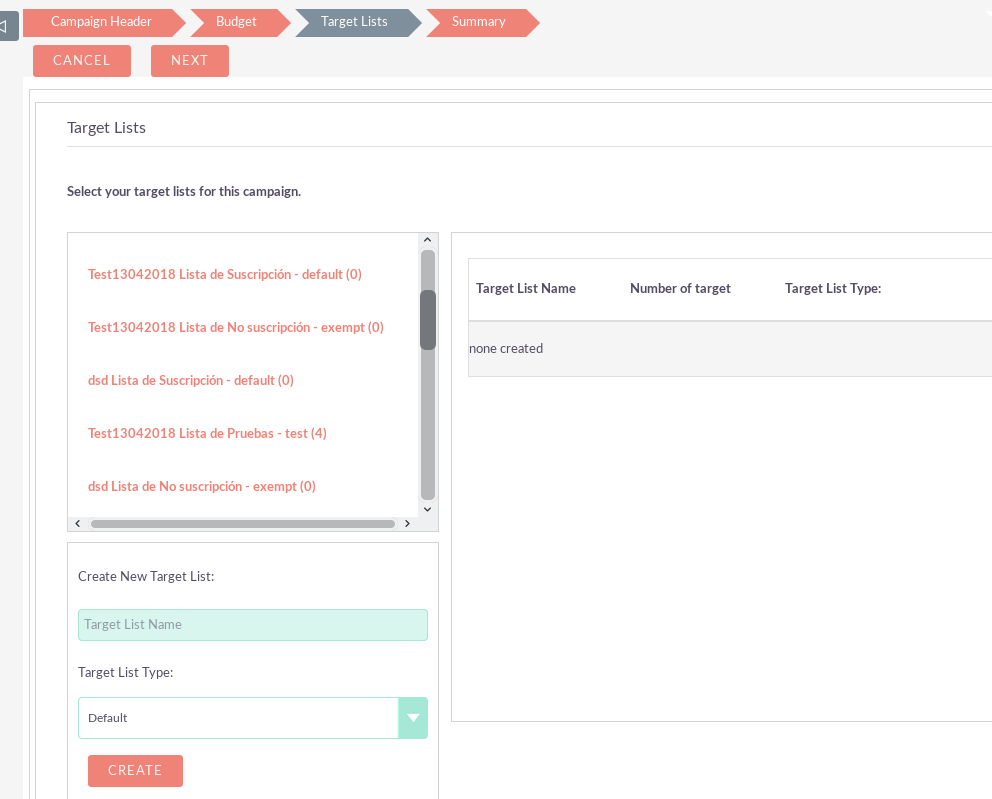
Recipients who have previously opted for their Marketing Campaigns will be automatically removed from their Objective List.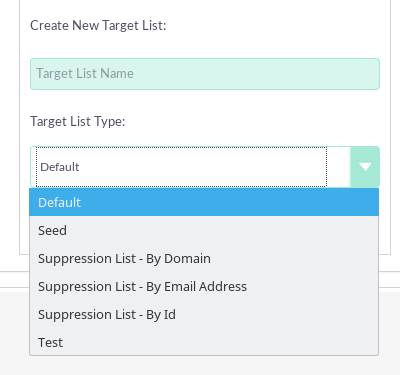
If you have not created a Objective List at this stage, you can create an empty one using the drop-down menu in the image above and fill it out after you have completed the rest of your Campaign settings by visiting the Objective Lists page. The next step for non-email based campaign is the Campaign Summary page.
Templates: Newsletter, email and surveys:
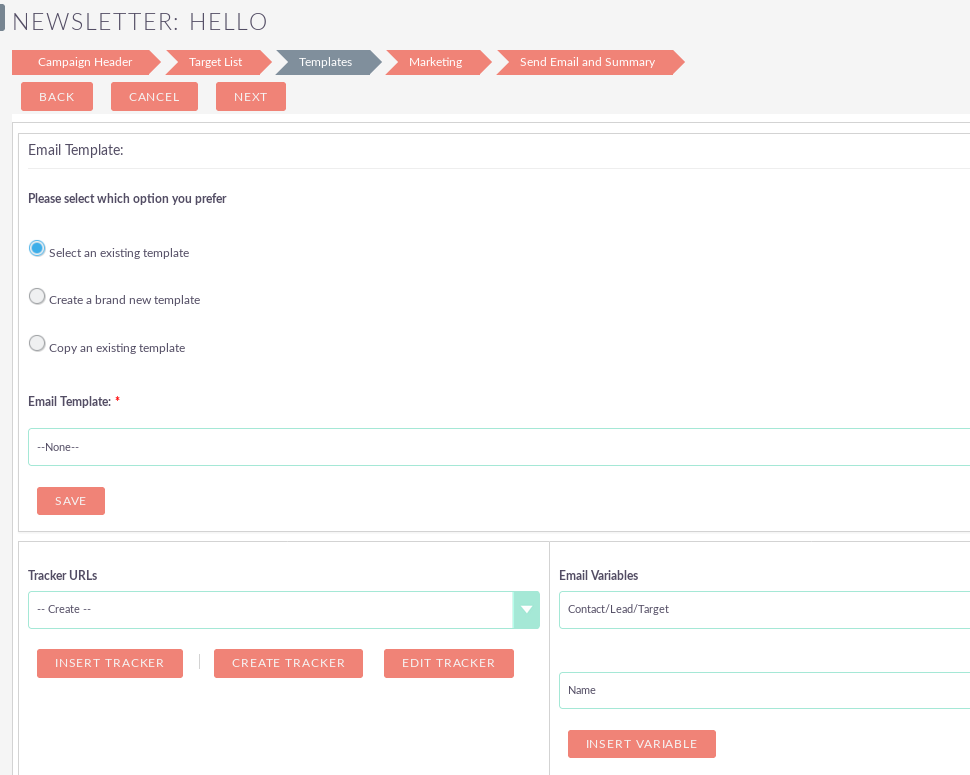
This page is a WYSIWYG newsletter template editor so you can create a template for your marketing emails.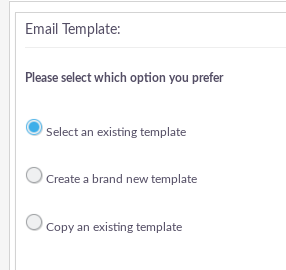
The panel at the top presents you with three options that allow you to select an existing template, create a new template or copy an existing template.
– Select an existing template: you can select from a drop-down list of existing email templates.
– Create a brand new template: if you want to start the newsletter from scratch, you can select this option.
– Copy an existing template: allows you to select an existing template and use it as a basis to make modifications.
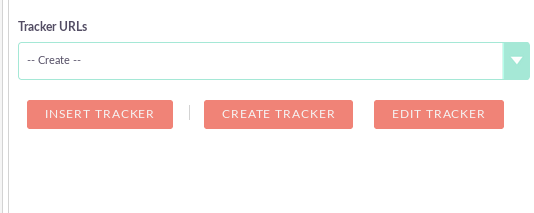
Once you have chosen an email template, you can decide if you want to insert a crawler URL. This can be used to insert a link to your organization’s website or a direct link to a new product that you have launched. In addition, you are offered the opportunity to place an “Exclusion” link in your template.
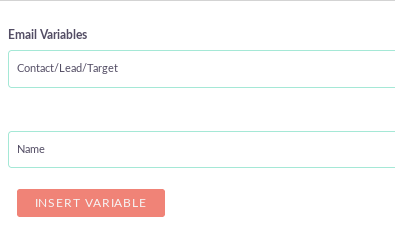
Note that the ‘Exclusion‘ link is automatically added to the template even if you do not insert one at this point. Another interesting feature of the Email Templates page is the ability to customize your templates by inserting variables. You can, for example, insert the variable ‘Account ID‘ in the subject line, or even insert the name and surname of the recipient to add a more personal touch.
The WYSIWYG editor is displayed at the bottom of the page of the email template, this editor allows you to see how your template will actually look.
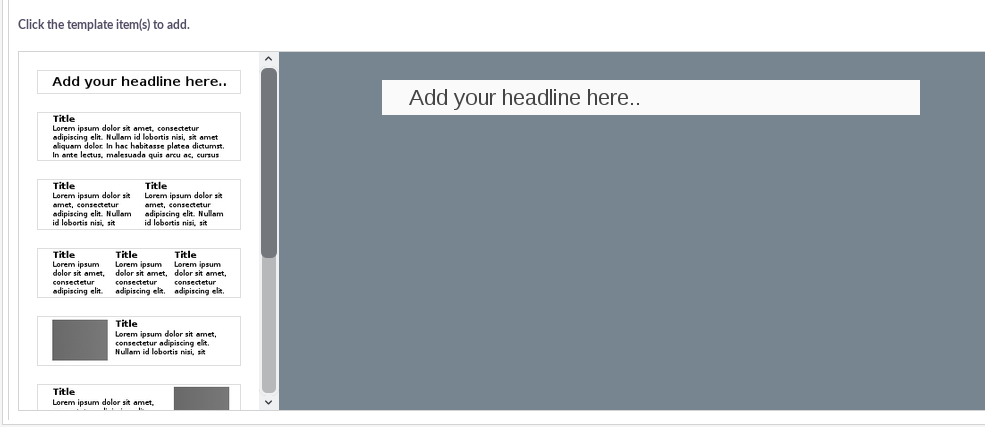
The panel on the left side of the editor allows you to drag & drop different design components to your template. These can then be edited in the display panel on the right side. Once you have inserted a component in the display panel, you can click on the added element and the editor menu will appear.

This menu offers a multitude of additional options that allow you to customize the design and appearance of your template. You can select the font, format it, change the colors, choose the text alignment, insert images and even videos.
Insert HTML by clicking Tools> Source code
The bottom panel offers the option to include attachments with your email template, this could be used if, for example, you want to attach something like a product catalog to your newsletter. Once you are satisfied with your email template, you can click Next and access the marketing page.
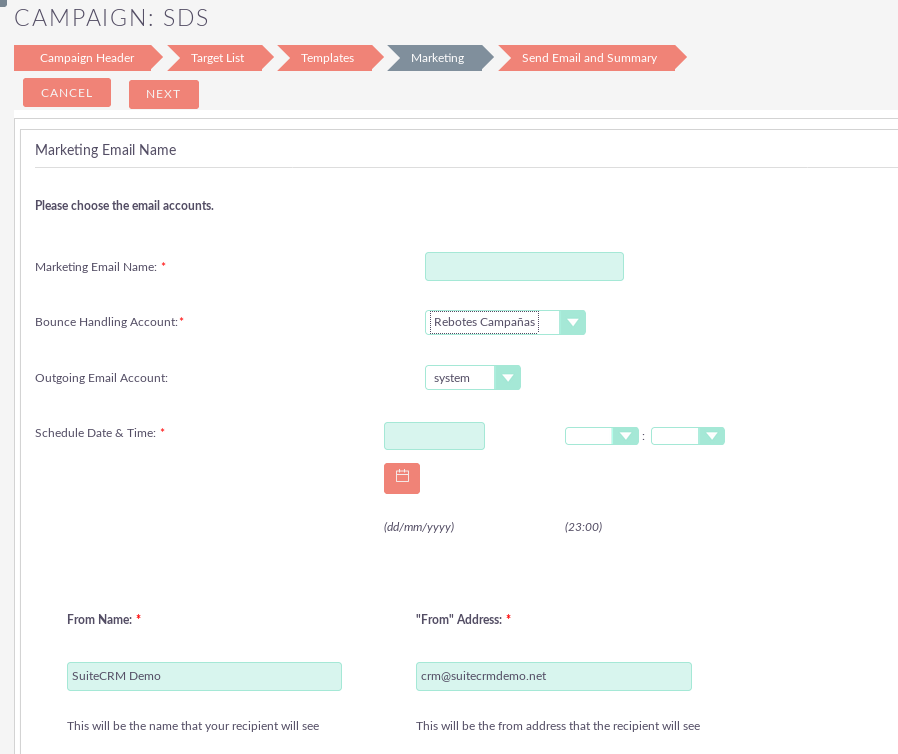
Marketing: Newsletter. email and surveys:
This section of the campaign assistant allows you to specify the email settings for your campaign, including the bounce management account, the outgoing email account, the name / address and the name / response. In addition to this, you can schedule your campaign by completing the Date and Time fields. Once you are satisfied with your email settings and schedule, you can click Next and you will access the Summary page.
Send Email and Summary: Newsletter, Email, Non-email based Campaign and Survey:
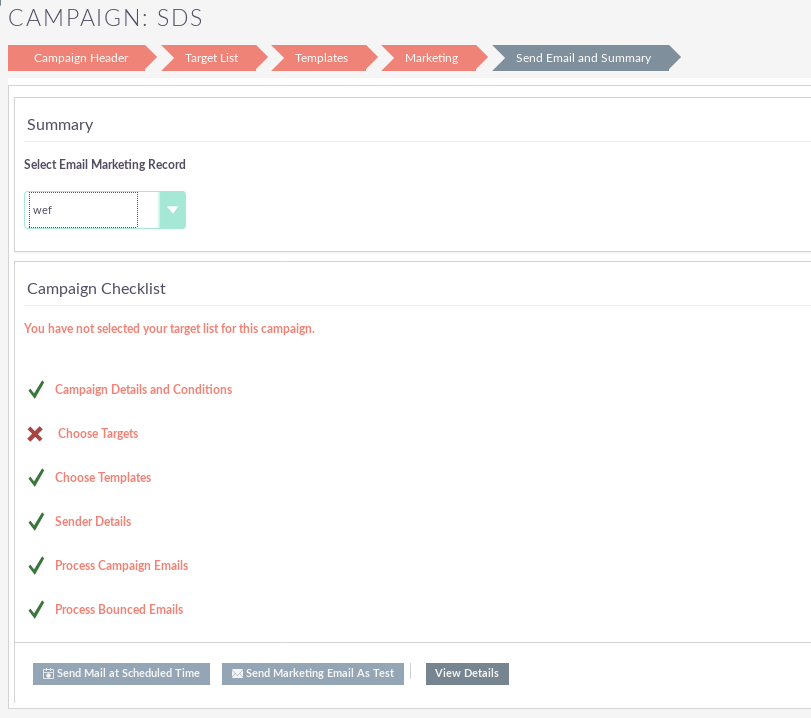
The Summary page includes a checklist that indicates that each page of the Campaign Assistant has completed successfully. If a section is completed, it is shown with a green tick, otherwise it will be highlighted with a red cross icon. If no section has been completed, SuiteCRM will not allow the Campaign to be sent. In this case, in the image shown above, the section ‘Choose Targets‘ has not been completed correctly as indicated by the red cross. This would be resolved by clicking on the Objective List page and specifying a Subscription List with at least one entry. Once you have ensured that all sections are complete, you can choose one of three options:
– Send mail at the scheduled time: you can click here once you are sure that all the sections of the Campaign are configured correctly and trust that it is the final article.
– Send marketing email as test: this option gives you the opportunity to send your Campaign to your Test List that you have specified in the Subscriptions section of the Campaign Assistant. By doing this, you can see the Campaign as a recipient and verify that the Campaign appears as it should be before sending it to real / prospective clients.
– View details: when you click on this option, you are taken to the details view of the campaign record you just created through the newsletter campaign assistant.
Create Person Form
Another feature of the campaign module is the web form template wizard that allows you to create leads, contacts and goals. You can access this by clicking on the Create Person Form button in the Campaign module drop-down menu or through the sidebar when you are in the module.
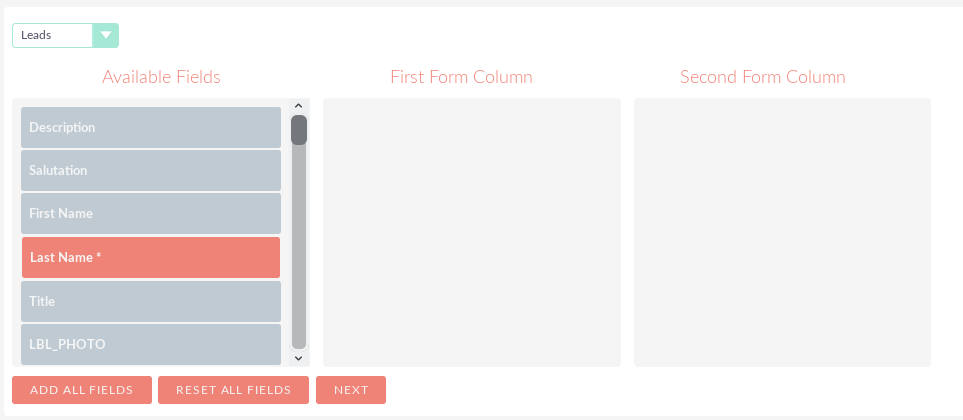
Once you have clicked on this, you will be taken to the first page of the Wizard to create a person.
This page allows you to specify the type of person you would like to create through your web form. The drop-down menu allows you to choose between a Leader, Contact or Objective. By selecting the type of person you would like to create, the available Fields change dynamically. Once you have chosen this, you can drag & drop the fields that you would like to include in your web form. The fields that are placed in the Column area of the first form are displayed on the left side of your web form and the fields that are placed in the Column area of the second form are displayed on the right side of your web form. You can choose to have 1 or 2 columns, all on the left, right or both sides. Please note at a minimum that you must include the required fields included in your web form as indicated by an asterisk. Once you are satisfied with the fields you wish to include, click on the Next button to proceed to the next stage.
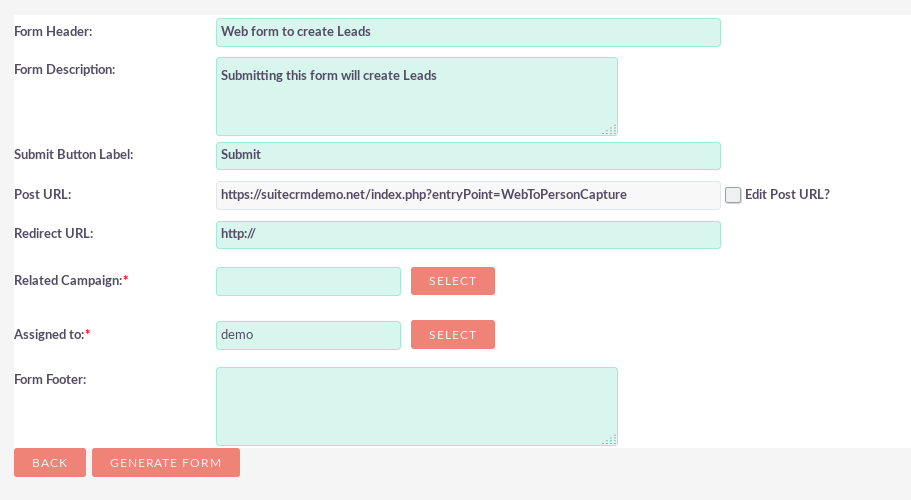
On this page you can configure the appearance of your web form by adding a form header / footer, form description, change the label on the Submit button or change the way the URL is displayed. At a minimum, you must link the web form to an existing campaign and assign it to a user before clicking the Generate form button to proceed to the next stage.
Create Person Form – Editor
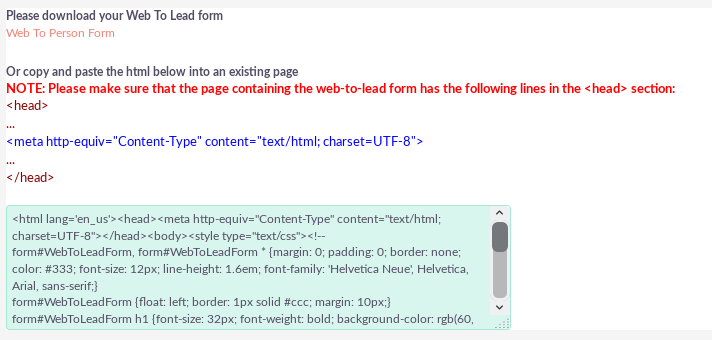
The last step of the Create Person Form Wizard allows you to format the web form that you have configured using the WYSIWYG editor. This editor provides you with a multitude of additional options that allow you to customize the design and appearance of your web form. You can select the type of font, format it, change the colors, choose the text alignment and you can insert images. Once you are satisfied with the appearance of your web form, click Save form. By clicking on this button, you can click on the link to download the web form that you just created or copy and paste the HTML into an existing document. By clicking on the download link, you will save the HTML form in your downloads folder.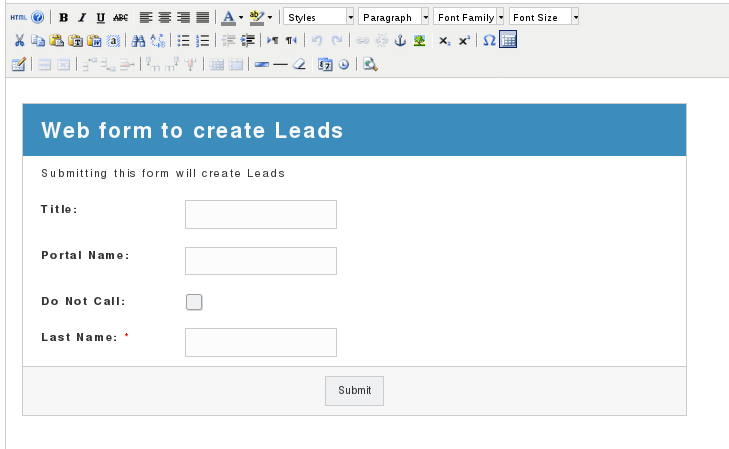
Keep in mind that the web form will not be stored anywhere else in the CRM, to ensure that the HTML is saved, perform one of the two steps above.
Campaign response tracking
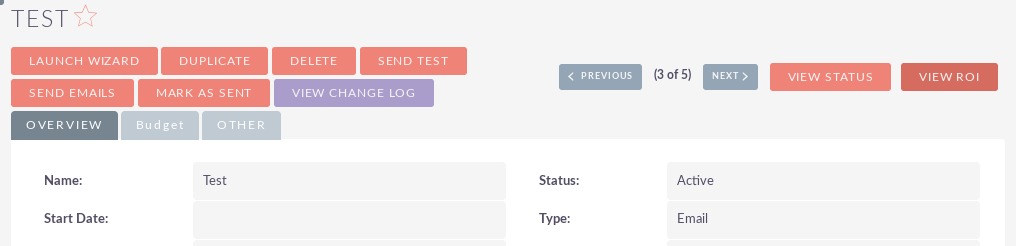
When you are in the details view of a campaign record, you can access the built-in campaign response tracking by clicking the View status button.
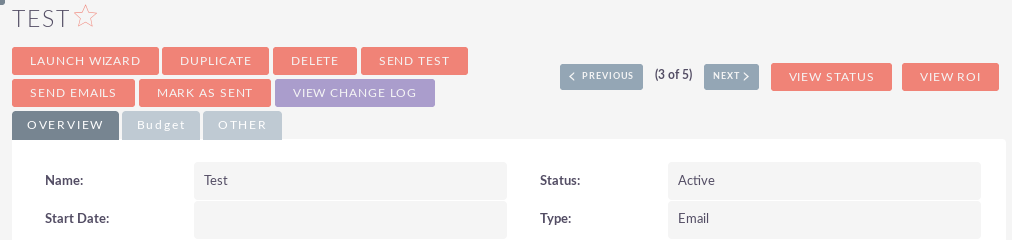
By clicking on this button, you will be directed to the Status page for that Campaign record. This page offers an overview of the details of the Campaign, as well as a graphic representation of your Campaign response, which includes the number of messages sent, messages rejected, the number of viewers, opt out and the number of links through of clicks
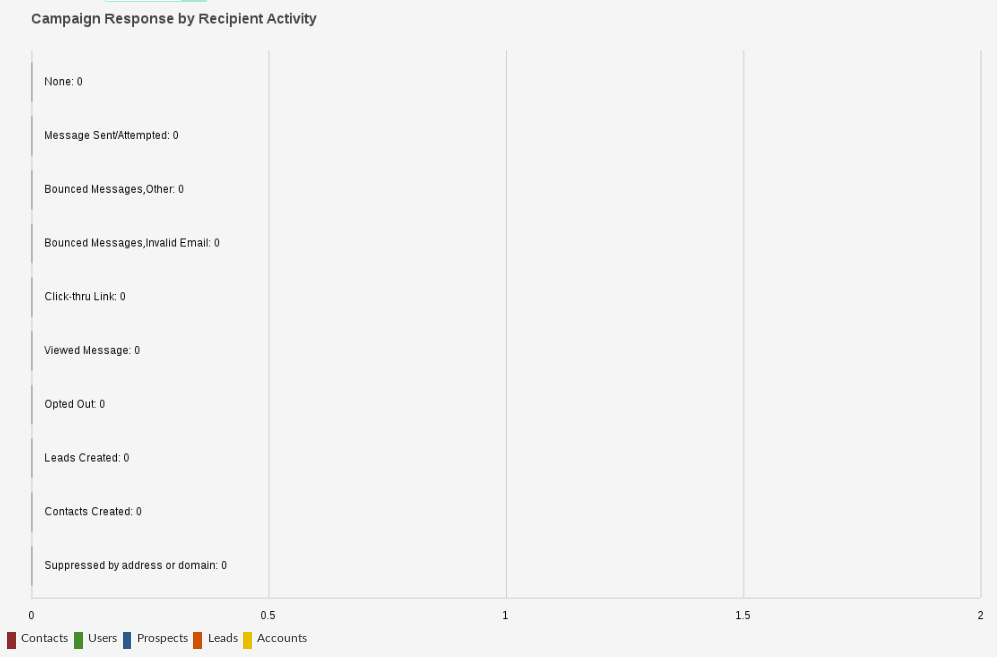
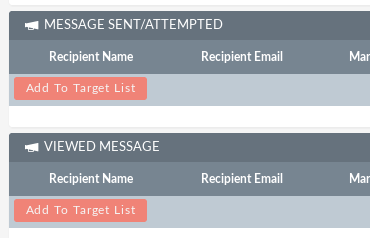
These fields are located below on the page and are detailed in an individual record level. These records can be added to a new list of objectives by clicking on the Add To Target List button. This allows you to create new and more focused campaigns based on who has responded.
Campaign ROI tracking
When you are in the details view of a campaign record, you can access the built-in campaign ROI tracking by clicking the View ROI button.
By clicking on this button, you will be directed to the ROI page for that Campaign record. This page offers a graphic representation of your campaign’s return on investment, which allows you to easily visualize how your organization’s money dedicated to the campaign has translated into potential business.