Projects
In SuiteCRM, the Projects module allows the User to organize the projects of his organization by tracking several tasks and allocating resources. Once configured, a project can be viewed in the form of a Gantt chart or using the project grid.
Project Actions
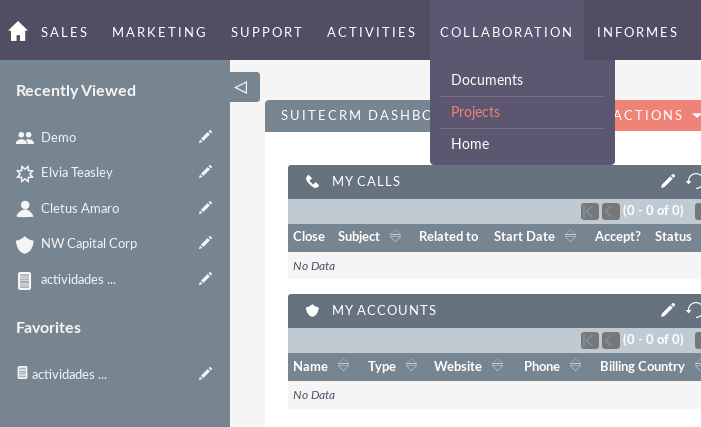
You can access the Projects actions from the Project menu drop-down menu or from the sidebar once you have clicked to see the module. The actions of Projects are the following:
– Create project: a new form is opened in Edit view to allow you to create a new project record.
– View project: you will direct it to the List view for the Projects module. This allows you to search and list the project records.
– View project tasks: allows you to list the tasks of the project, which are related to a main project.
– Import project: redirects it to the Import Wizard for the Projects module.
Creating projects
In the Projects module, you can create, manage and duplicate Projects and Project Tasks.
You can define multiple project tasks for each project. When you create a project task, you must associate it with a project. You can associate a project with multiple activities, accounts, opportunities and cases. You can also create projects and project tasks from the details page of an email.
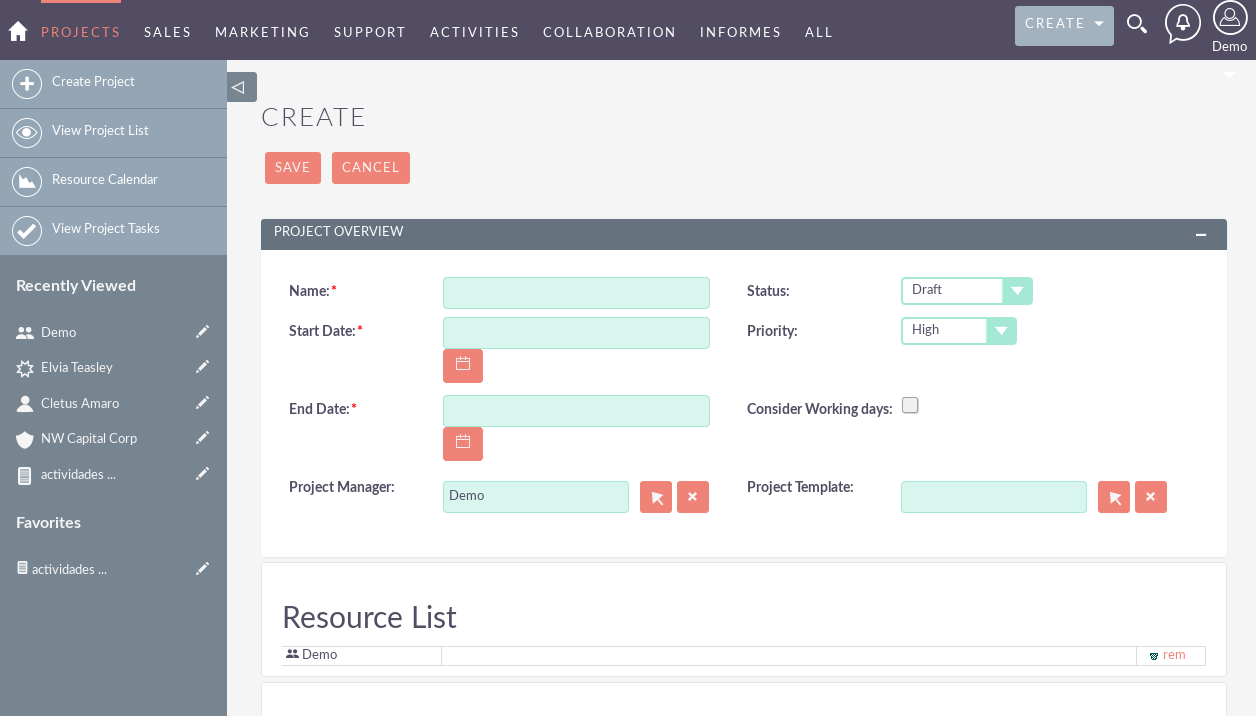
1. In the Actions bar, click Create project.
2. On the Projects page, enter information for the following fields:
– Name. Enter a name for the Project.
– Status. In the drop-down list, select the status of the project, such as Draft, In review or Published.
– Start date. Click on the Calendar icon and select the start date of the project.
– End date. Click on the Calendar icon and select the end date of the Project.
– Project Manager. Enter the name of you that has ownership of the Project. By default, it is assigned to you.
– Priority. In the drop-down list, select the importance of the project, such as Low, Medium or High.
– Description. Enter a brief description of the Project.
3. Click on Save to create the Project; click Cancel to exit the page without creating the Project.
When you save the project, the project details page is displayed on the page.
From this page, you can link the Project with records such as Contacts and Opportunities.
Create project tasks
1. In the Project Tasks sub-panel, click Create.
2. On the Project Tasks page, enter information for the following fields:
– Name. Enter a name for the task.
– Task ID. Enter a numeric value as the identification number of the task.
– Start date. Click on the Calendar icon and select the date on which the task should begin.
– End date. Click on the Calendar icon and select a date when the task should be completed; Enter the start time in the next field.
– Full Percentage. Enter a numeric value to indicate what percentage of the task has been completed.
– Priority. In the drop-down list, select a priority level that reflects the importance of completing this task.
– Milestone. Check this box if the completion of this task is considered a milestone for the completion of the project.
– Project’s name. Click on Select and choose the project associated with the task.
– Description. Enter a brief description of the task.
3. Click on Save to create the task; click Cancel to return to the project details page without creating the task.Manage projects and project tasks
– To sort the List View in the Projects and Project Task list view, click on any column title that can be sorted. This will sort the column either ascending or descending.
– To search for a project or project task.
– To update some or all of the Projects or Project Tasks in the List View, use the Bulk Update panel.
– To duplicate a project, you can click on the Duplicate button in the details view and then save the duplicate record.
– To delete one or several projects, you can select several records from the list view and click Delete. You can also delete a project from the details view by clicking the Delete button.
– To view the details of a project or project task, click on the project name or project task in the list view. This will open the record in the Details View.
– To edit the Project or Project Task details, click Edit icon in the List View or click the Edit button in the Details View, make the necessary changes and click Save.
– To keep track of all the changes in the audited fields, in the Project or Project Task record, you can click on the View Project Change Record or Project Task button.