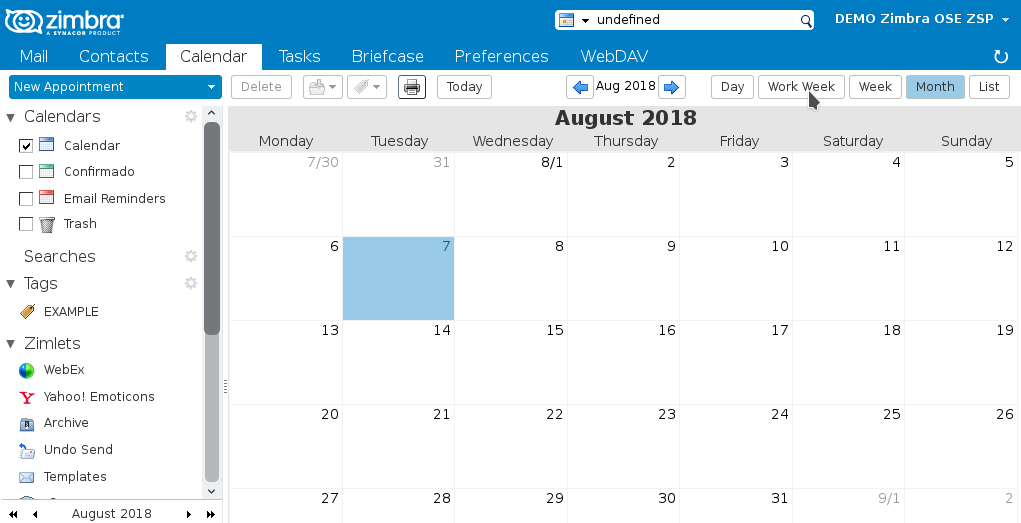
1. To manage our Calendar we will go first to the Calendar tab. Once here we will configure the view of this. Located at the top right we find 5 buttons to see the Agenda by Day, Work Week, Week, Month or List. We will select the one that we like the most.
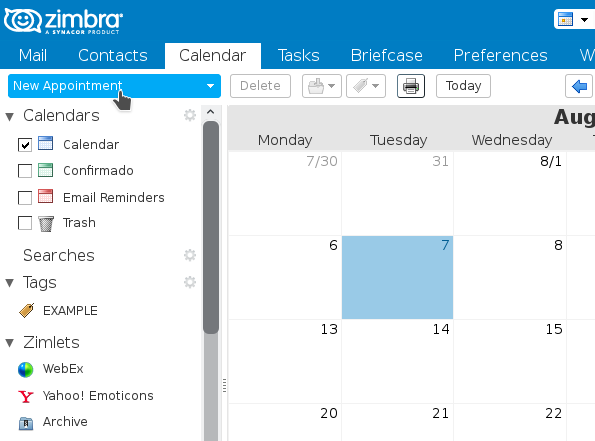
2. Once the view of our Calendar is configured, we will create a New appointment. We can do it in several ways, by right clicking on the day that we want to enter the appointment in New appointment, or by pressing the New appointment button that we find in the upper left. This last one will allow us a more advanced configuration that we will see next.
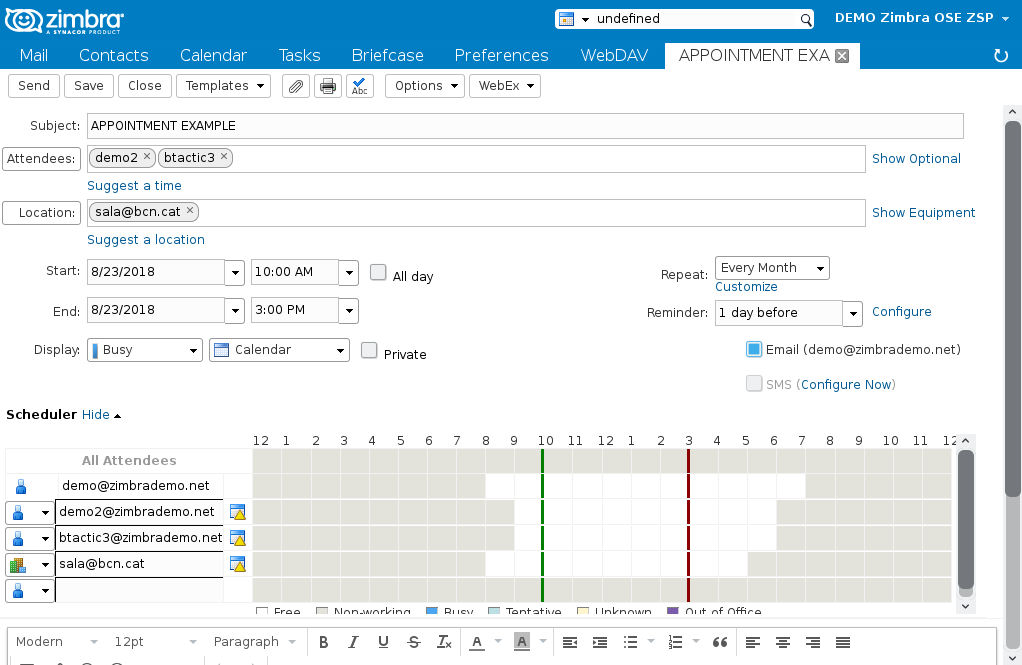
3. We will open a new tab in which we can configure the parameters of the appointment.
- First a Subject to differentiate it from other appointments.
- In second place in Attendees we can indicate who will attend the appointment and pressing Show optional (just at the end of this field), we can add optional assistants.
- In third place a Location.
- In fourth place, the day and the time slot that the appointment will occupy.
- In fifth place in Display, we will choose how and where we want to see the appointment.
- In sixth place we can Repeat this appointment establishing a period in the drop-down and we can also establish a Reminder by email and / or SMS in the indicated time.
- Finally we will find at the end a text document to include any observation about the appointment.
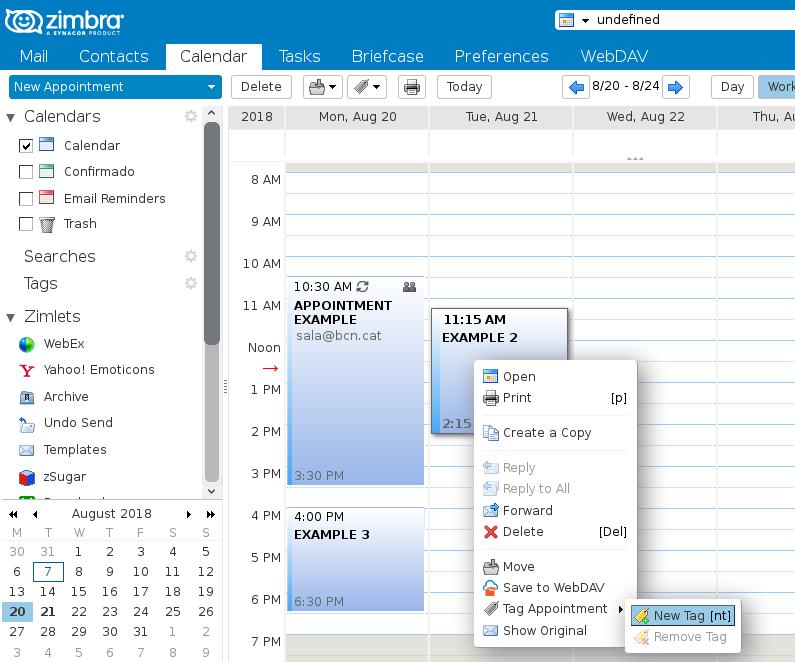
4. Once the appointment is saved we will see that it will appear in our calendar.
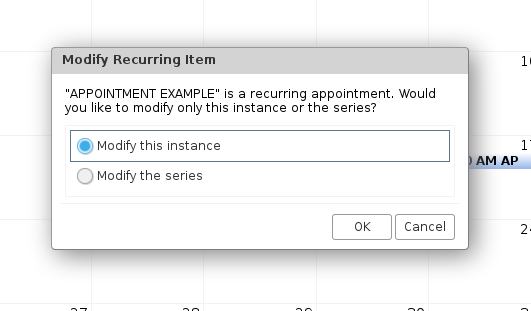
NOTE: When we are in Month Agenda View, we can change day appointments by simply dragging them to the new day. In case it is a Recurring appointment (the appointment is repeated according to the established period), it will notify us if we wish to change all the repetitions, or only that of that specific day.
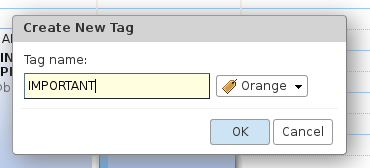
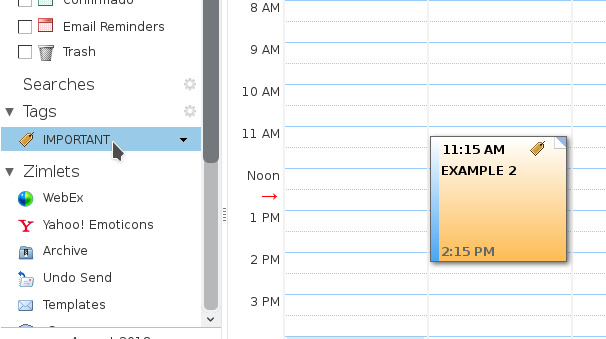
5. We can also, in the same way as emails, tag our appointments to distinguish them better. To do so, we will press right click on the appointment in Tag Appointment, New Tag (if we already have a tag created this will appear here to select it). Next we will establish a name and a color to the tag. From this moment we can see our appointments organized in the Tags section, located in the left side menu.
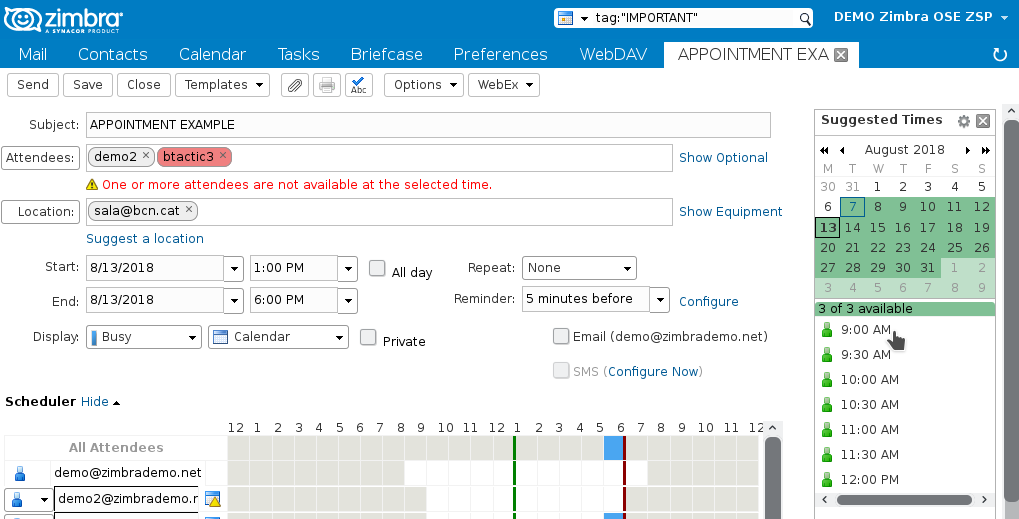
IMPORTANT: If in an appointment we introduce different assistants and they have marked other appointments at the time that we mark the appointment, Zimbra will detect that the assistant is busy, and clicking on Suggest time, will suggest another different time.
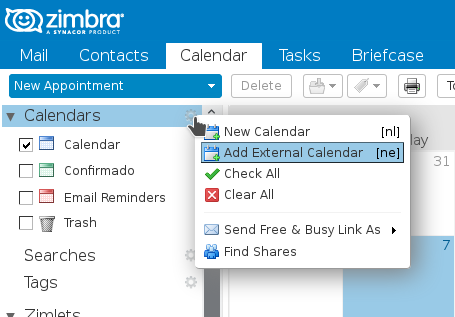
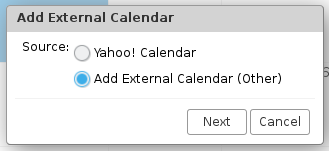
NOTE: If we want to synchronize external calendars to our Zimbra we will go to the Nut located next to Calendars and click on Add external Calendar. The following window will appear, in which we will introduce the data of our external calendar.