Records management
We have covered the different views that are presented to you, so now we will move on to record management. In this section, we will cover all areas of record management so that you can efficiently store and manage customer data.
Creating Records
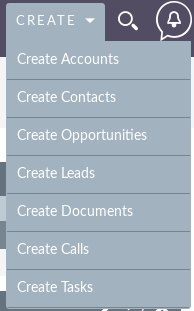
You can create records within the modules from several different areas of your interface. Below are screenshots of the record creation points.

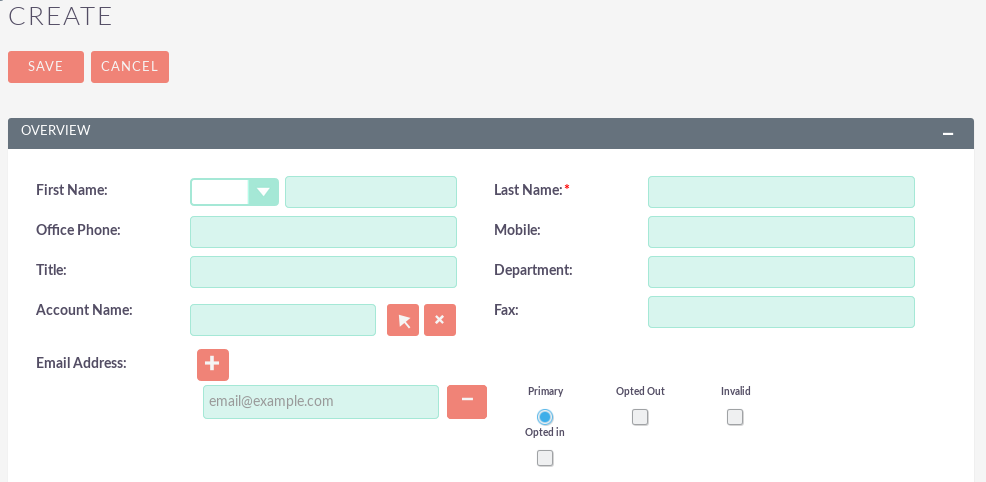
Once you click on the Create button, you will be taken to the creation screen. This allows you to complete the appropriate data for that record. The fields with the red star (*) are required fields. Validation is done so that a record can not be saved within the CRM unless the data is valid for the required fields.
Once you have completed all the data for the record, you can save the record that will create the record within the module in the CRM. Once saved, you will be redirected to the details view of the record that has been created.
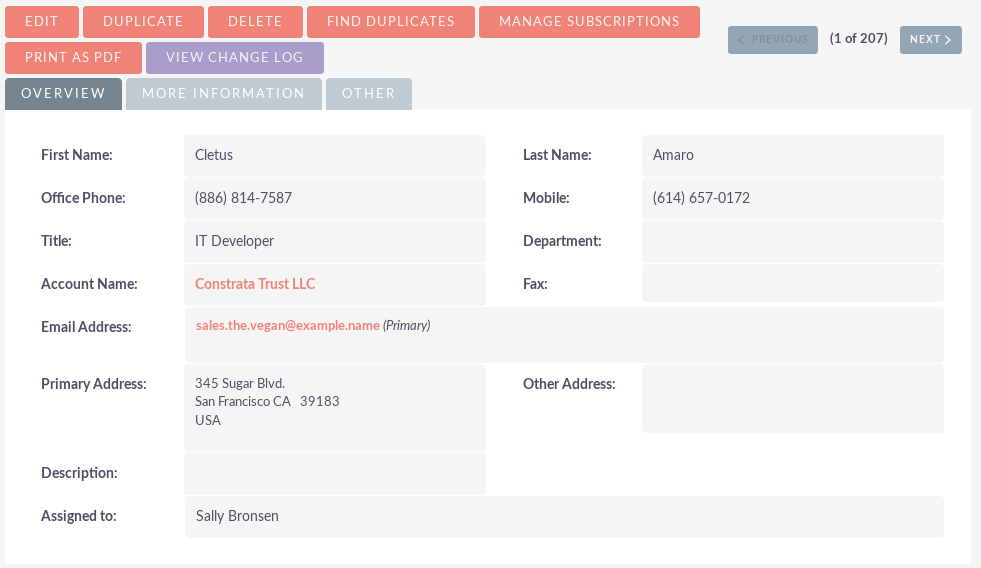
Record editing
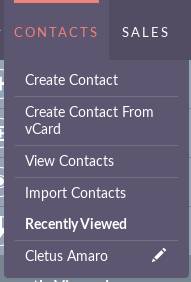
You can edit records within the modules of several different areas of your interface. Below are screenshots of the edition of records.

Once you click on the edit button (or pencil), you will be directed to the Edit View. This allows you to edit the appropriate data for that record. The fields with the red star (*) are required fields. Validation is done so that a record can not be saved within the CRM unless the data is valid for the required fields.
Once you have edited / filled in the registration data, you can save the record that will update the existing record with the new data added during editing. Once saved, you will be redirected to the details view of the record you have edited.
Delete records
You can delete records within modules from List View and Detail View. Here are the screenshots of the record editing points:
Detail view removal method
Deleting records from the Detail View is a simple process. You simply have to click on the ‘Delete‘ button.

When you click the Delete button in a record, you will receive a pop-up window asking you to confirm that you want to delete the record.
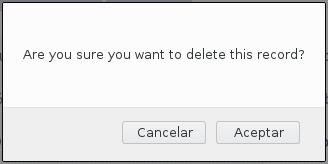
You can click Cancel or Accept. When you click Cancel, you will return to the details view of the record and will not delete it. Clicking Accept will execute the deletion of the record. If you choose to delete the record, the record will be deleted and you will be redirected to the List View module.
List view removal method
To delete records from the List View, you can select records using the check box option on the left side of the view. It is possible to select individual records or use the options ‘Select this page‘ or ‘Select all‘, to select all records on the page or all records within the module.
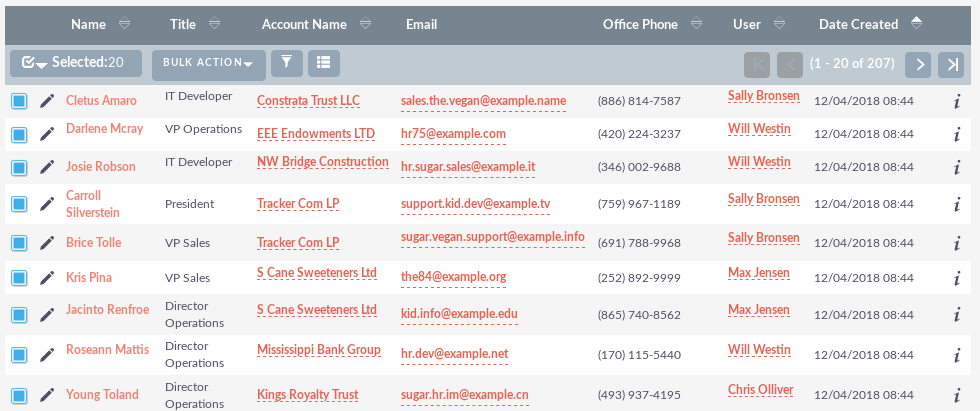
Once you select the records to delete, you can click on the ‘Delete‘ button. When you click the Delete button in a record, you will receive a pop-up window that will show the number of records that will be deleted and ask you to confirm that you want to delete the record.
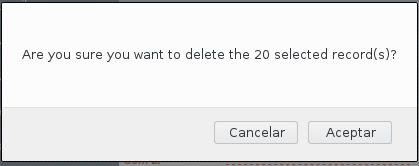
You can click Cancel or Accept. When you click Cancel, you will return to the details view of the record and will not delete it. Clicking Accept will execute the deletion of the record. If you choose to delete the record, the record will be deleted and you will be redirected to the List View module.
Massive update records
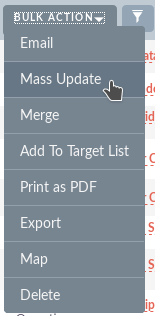
You can update the records in bulk from the List View of any module, since this option is available to you. To update the mass records, you must check the records in the List View and then select the ‘Mass Update’ option in the drop-down menu (next to the delete link).
Clicking on the Mass update option will bring up a screen at the bottom of the List View. This will show a list of all the fields that you can massively update.
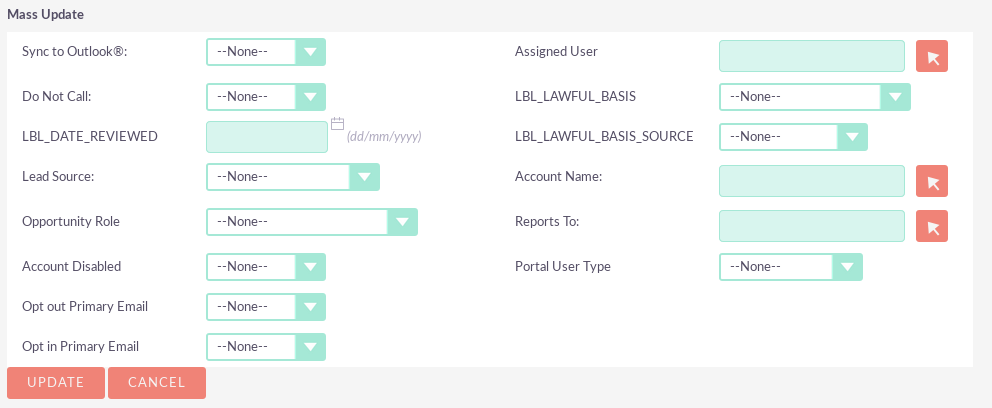
Once you have filled in the fields you want to massively update, you can click on ‘Update‘ or ‘Cancel‘. The cancellation of the massive update will cancel the changes and will direct it to the list view of the module. Clicking on the update will update all selected records with the changes specified in the Bulk Update Records section.

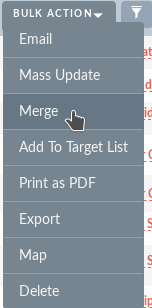
Merge records
You can merge records from the List View of any module, since this option is available to you, or through the Details View if you follow the ‘Find duplicates‘ process.
To merge records, you must verify the records in the List View and then select the ‘Merge‘ option in the drop-down menu (next to the delete link).
Once you have clicked on the ‘Merge‘ option, you will be presented with a merge screen. This will show the main record and the duplicates that you want to merge with that primary record.
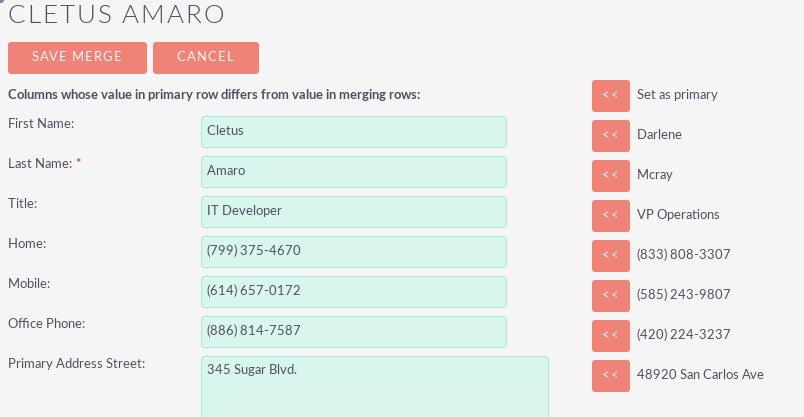
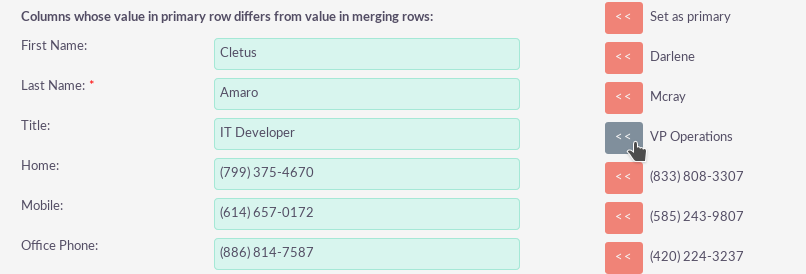
You can select which record is the primary using the ‘Set as main‘ button to the right of the merge view. You can move data from the duplicate records to the main register using the ‘<<‘ buttons. In this example, we have moved the First name and Last name of the duplicate record to the main record.
Once you have made the necessary changes in the merge screen, you can click on ‘Save combination‘ or ‘Cancel‘. Clicking cancel will discard the merge changes and return to the List View for that module. Clicking on Save combination will continue the merge process and you will be asked to inform you that the duplicate record will be deleted.
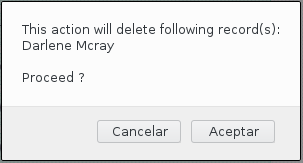
You can click on ‘Accept‘ or ‘Cancel‘. When you click Cancel, the combination changes will be discarded and you will return to the List View for that module. Clicking Accept will save the merge and redirect you to the Details View for the merged record.
As you can see in the example, the merger was completed successfully. The first name and last name have been updated and all other data has been preserved.
Import of records
Data can be easily imported using the easy-to-use user import wizard from SuiteCRM. There are many tips and suggestions as you go through the import wizard in the data import requirements.
Functions of the User Import Wizard
There are many features of the Import Wizard that make it easier to assign data to the CRM fields and also for future imports. These are:
– Sample .csv file to facilitate data import: use the sample .csv file available as a template for file import.
– Keep the configuration of the previous imports: it saves the properties of the import file, the assignments and the duplicate verification rates of the previous imports to facilitate the current data import process.
– Possibility to accept both the name of the database and the drop-down labels of field elements and multiple selection field: field labels and database names are accepted and assigned during the import, but only shown Field labels for easy use.
– Possibility of accepting usernames and full names in user fields during import and export of data: full names of users displayed for Assigned to and other fields related to the user in the exported .csv file for easier identification of records of user.
– Possibility to automatically detect the properties of the file in the import file: load import files without specifying file properties, such as tabulation, commas, double and single quotes, date and time formats, simplifying and speeding up the process.
– Possibility of importing contacts from external sources such as Google: possibility of importing Google Contacts for person type modules, such as Contacts, Potential customers, linking SuiteCRM records with Google Contacts and communicating with Google Contacts from SuiteCRM.
Steps to import data
Note: Always import the account data first and then import the contacts and other data related to the accounts (such as meetings, calls, notes) to automatically create a relationship between the imported account and the contacts and activity logs related to the account.
Follow the steps listed below to import data for a module, such as Accounts:
1. Select Import from the Actions drop-down list in the module menu options.
2. Show Step 1 of the import process with a link to a sample import file template.
3. Upload your import file to this page using the Browse button in the Select file field.
4. Optionally, download the available template, delete the existing data, enter your data and upload to this page using the Browse button.
5. Click Next.
6. This shows Step 2 (Confirm import of file properties).
7. The automatic detection of imported data is carried out in this step.
8. Click on the button View the properties of the import file to verify and change the data as necessary, if you notice irregularities in the table Confirm properties of the import file.
9. Click Hide properties of the import file to collapse the panel.
10. Click Next.
11. This shows Step 3: Confirm field assignments.
12. The table on this page shows all the fields in the module that can be assigned to the data in the import file. If the file contains a header row, the columns in the file are assigned to the matching fields.
13. Check the correct assignment and modify it if necessary.
14. Make a map of all required fields (indicated by an asterisk).
15. Click Next.
16. This shows Step 4: Find possible duplicates.
17. Follow the instructions on this page.
18. Step 4 also provides the option to save the current import file properties, assignments and duplicate verification rates for future imports.
19. (Optional) Save the import configuration.
20. Click Import Now.
21. Click on the Errors tab to check for errors in the process. Follow the troubleshooting instructions (if applicable) and click Import again.
22. This shows Step 1 of the import process.
23. Follow all the steps of the wizard until step 5.
24. If the import was successful, you can see all the records imported in Step 5.
25. Click Undo Import if you are not satisfied with the imported records.
26. Or, click Import again to import more data
27. Or click Exit to navigate to the List View page of the module into which you imported your records.
Export of records
You can export SuiteCRM records in .csv format. When you export CRM records, you will be provided with the .csv file to download when the export has finished running. You can save and open this file in applications such as Libre Office Calc or Microsoft Office Excel.
The .csv file is displayed in a tabular format with columns and rows. When the data is exported from the CRM, the identification of the record is included with all the other fields that are specified in the export list for that module. You can then use the record ID as a reference to perform an import of ‘Create new records and update existing records’.
Note: When exporting values from drop-down lists, SuiteCRM exports the ID associated with each option and not the display tags. For example, if a drop-down list has options named High, Medium, and Low with an ID of 1, 2, and 3, the .csv file will display the drop-down options as 1, 2, or 3.
Steps to export records
1. Select the records in the List View on the module home page.
2. Select Export from the Actions drop-down menu in the List View.
3. To export all the records listed on the page, click on Select located above the list of items and select one of the following options:
4. This page. To export all the records listed on the page, select this option.
5. All records. To export all records in the list (if you have more than one page), select this option.
6. This shows an Opening.csv dialog box.
7. Select Open to open the export file in .csv format or select Save to disk to save the .csv file to your local machine.
8. Click on OK to execute the operation. If you choose to open the file, the csv file opens in Microsoft Excel.
9. The file contains all the fields of the module from which you are exporting the data.